1.5 KiB
User Guide
Intro
Create a new environment with the Fuel UI wizard. At the moment only the Ubuntu distribution is supported.
Click on the Settings tab of the Fuel web UI.
For fuel version 7.0: select the “Calamari Installer” tab, enable the plugin by clicking on the “Calamari Installer” checkbox and fill-in the required fiels:
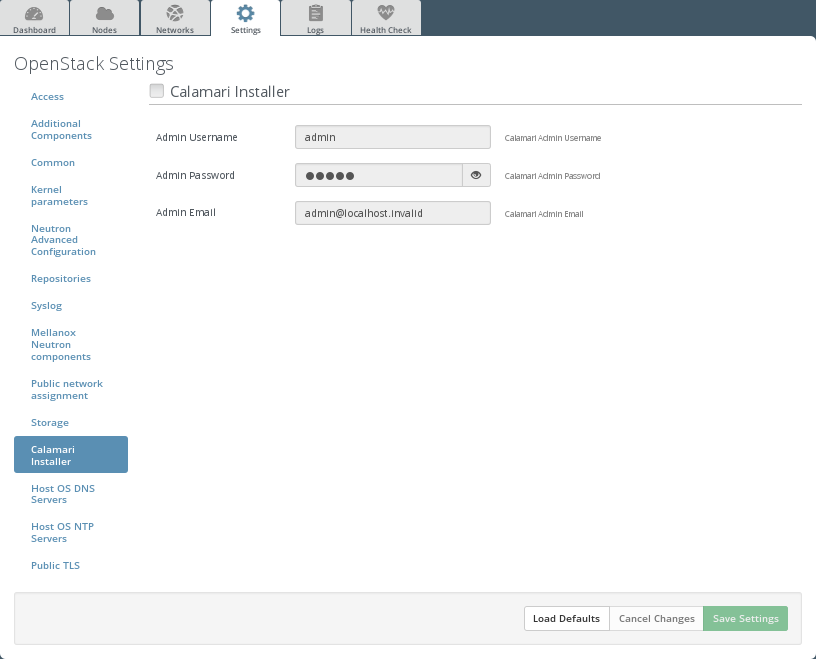
For fuel version 6.1: scroll down the page, select the calamari plugin check-box and fill-in the required fields. The interface looks like the following:

Go to the nodes page.
Add a base-os node and rename the base-os host as “calamari”:

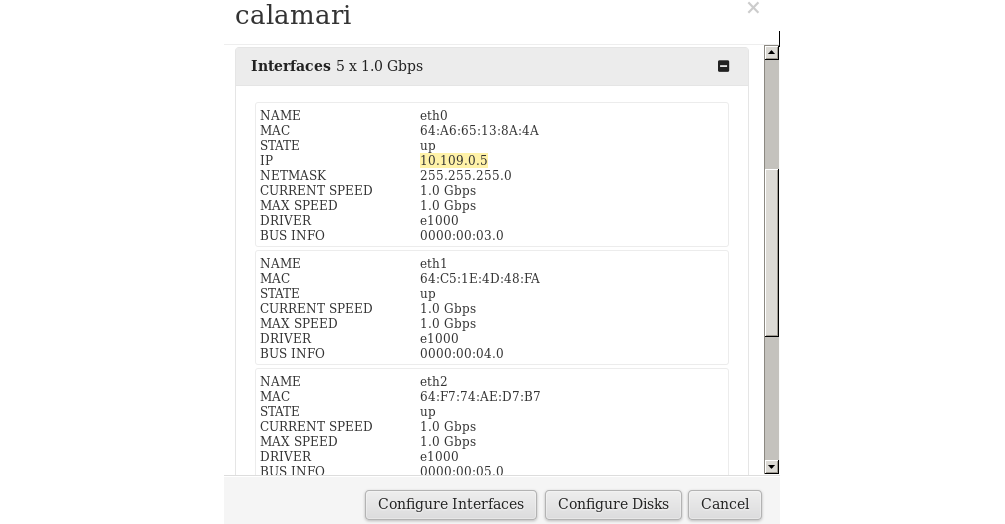
Some minutes after the deploy is ready (currently the Fuel UI display "Ready" on the nodes, even some plugin has not yet finished) you can browse the calamari interface on the calamari server. You have to figure out the address of the server from the network info pop-up:
How to use the plugin
Have a look to the still rough calamari documentation.