3.4 KiB
User Guide
Plugin configuration
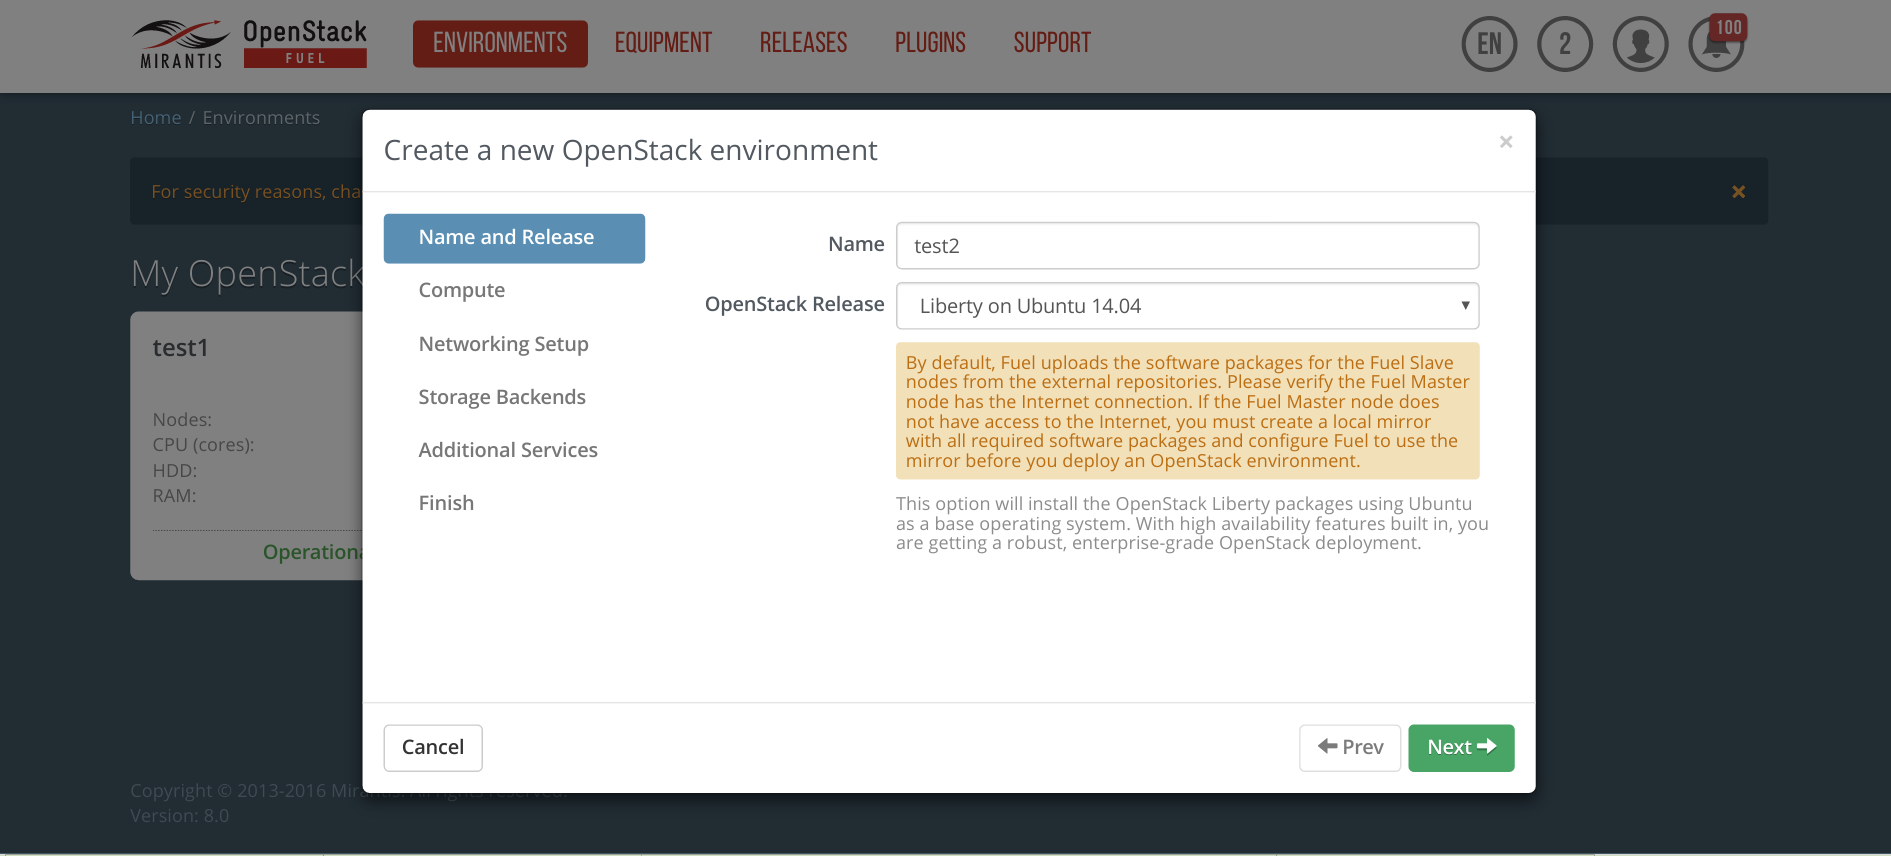
Create a new environment with the Fuel UI wizard. At the moment only the Ubuntu distribution is supported.
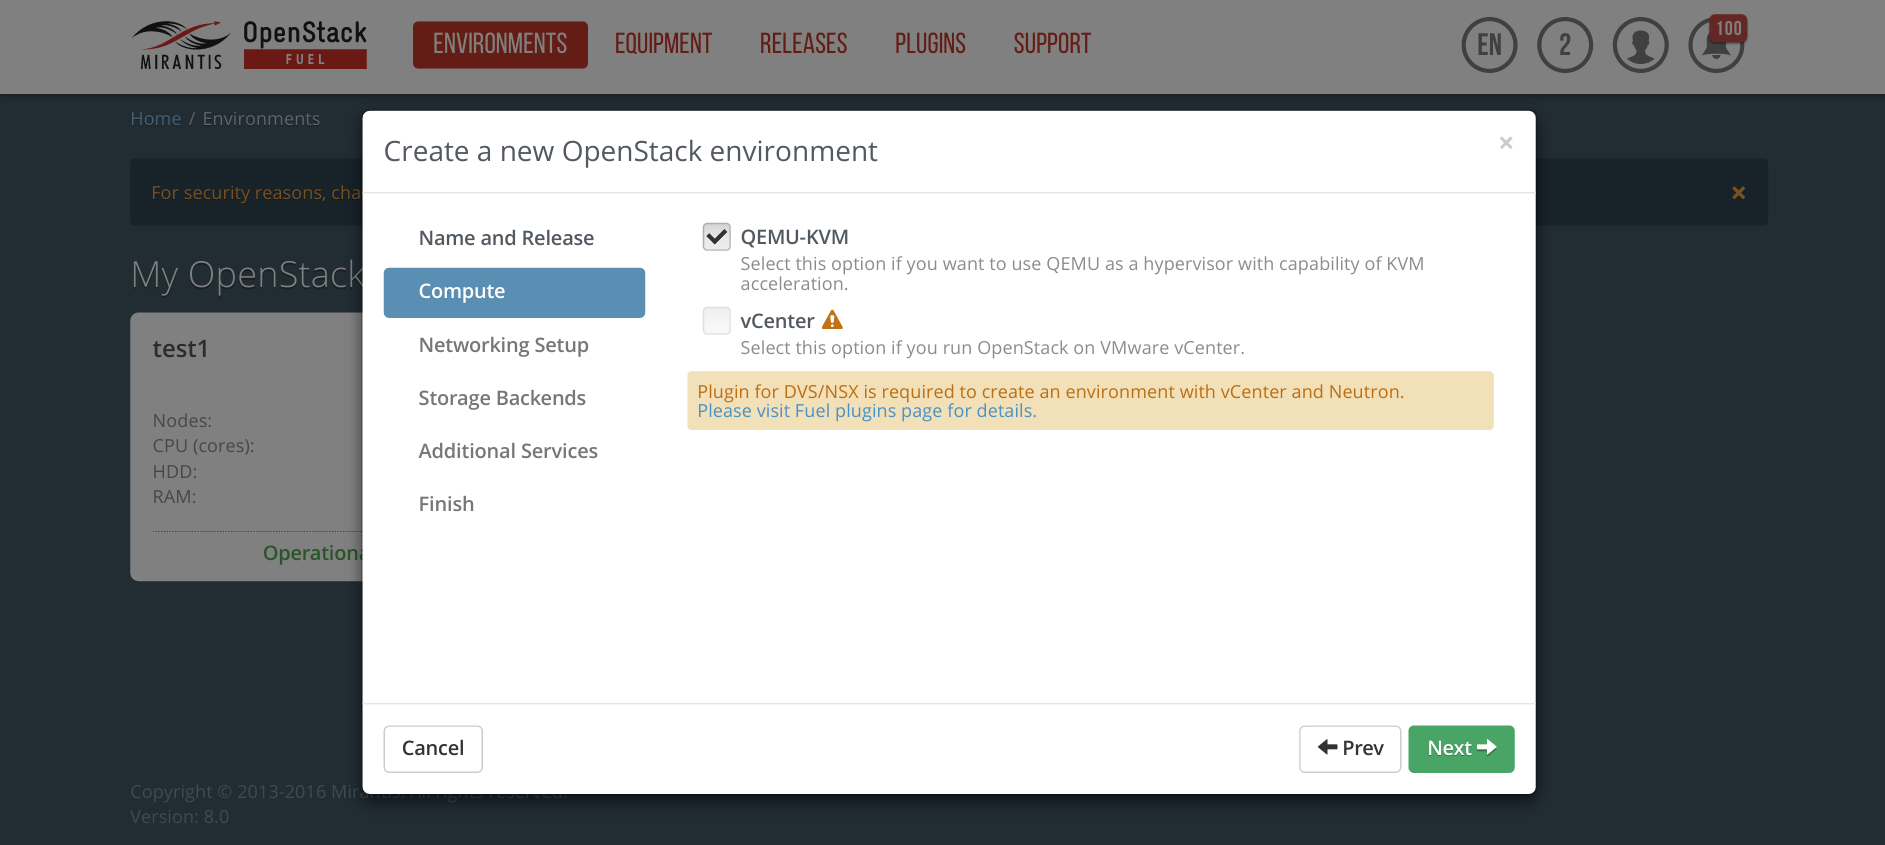
Select the desired storage backends and additional services.
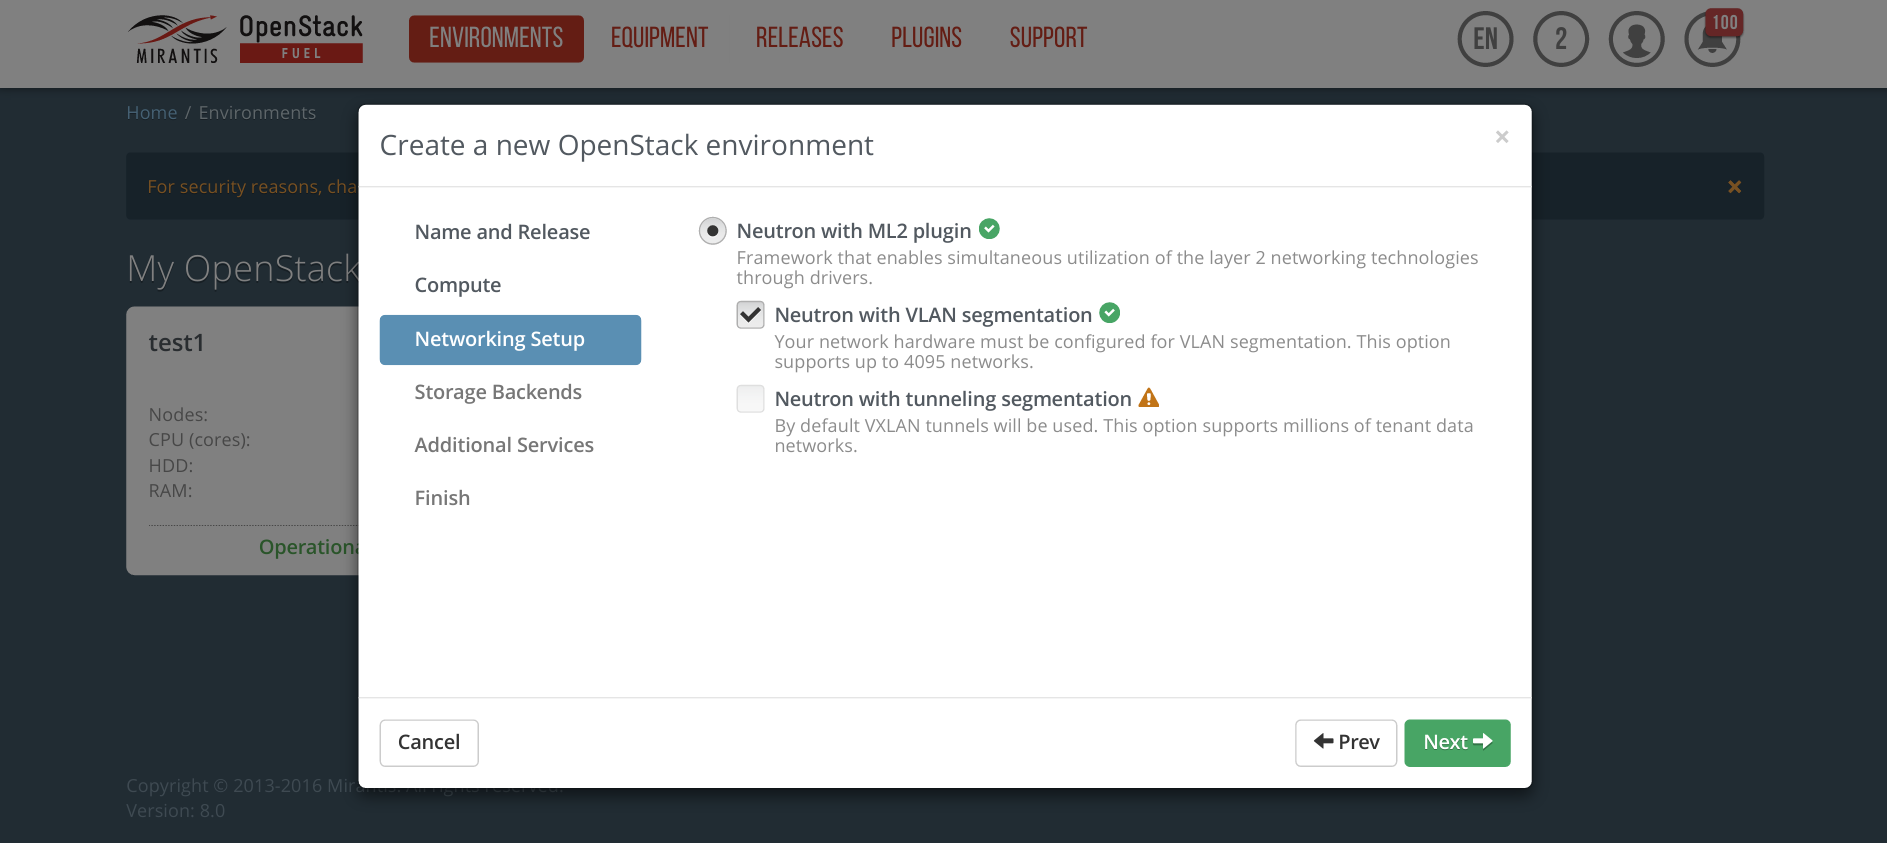
Modify networking configurations.


Configure FortiGate Connector settings. Click on Other on navigation bar and scroll down to "Fuel plugin to deploy FortiGate ML2 plugin on OpenStack". Click on the checkbox for the Fortinet fuel plugin and change related settings.

Click Save Settings at the bottom of the page to save the configuration parameters.
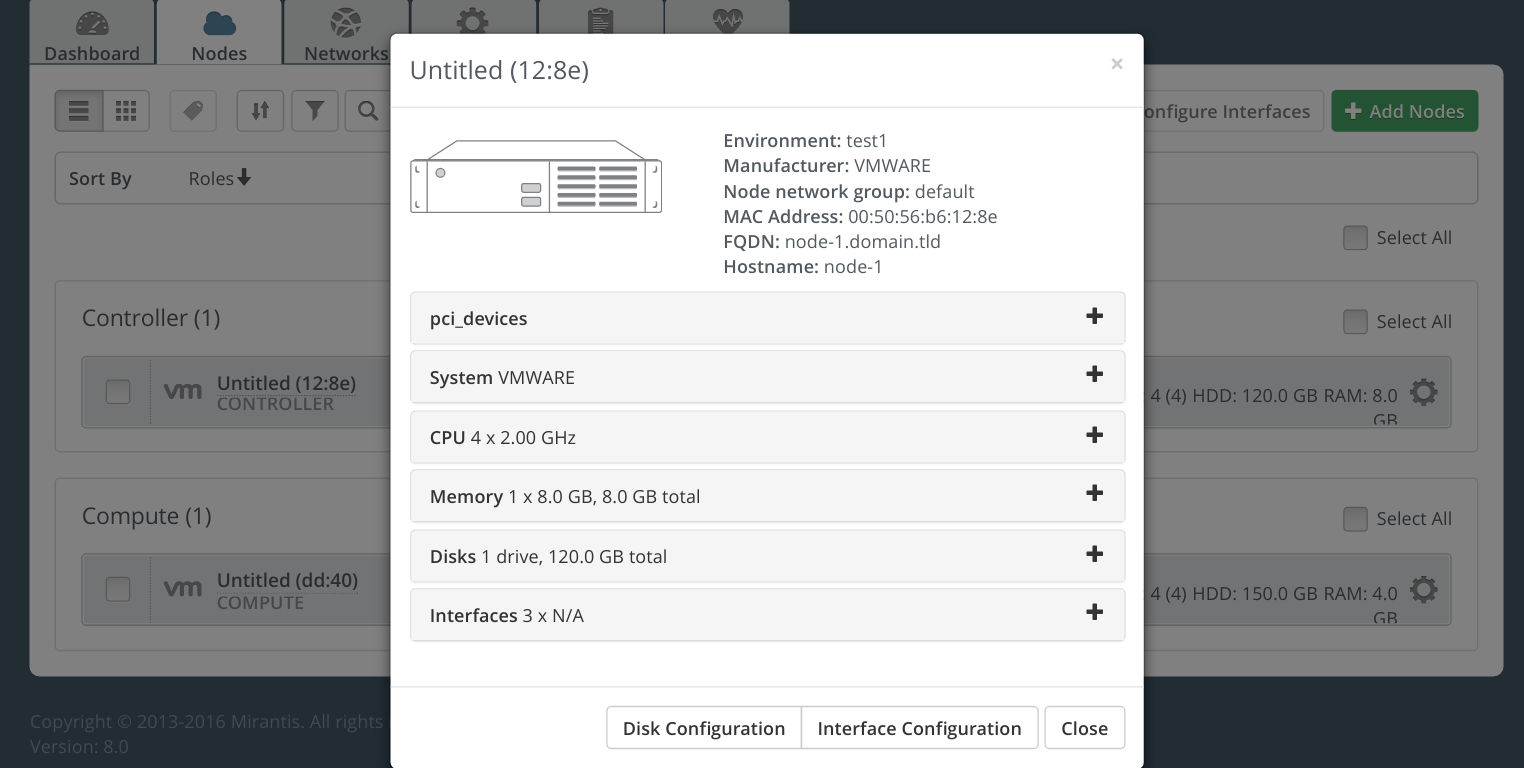
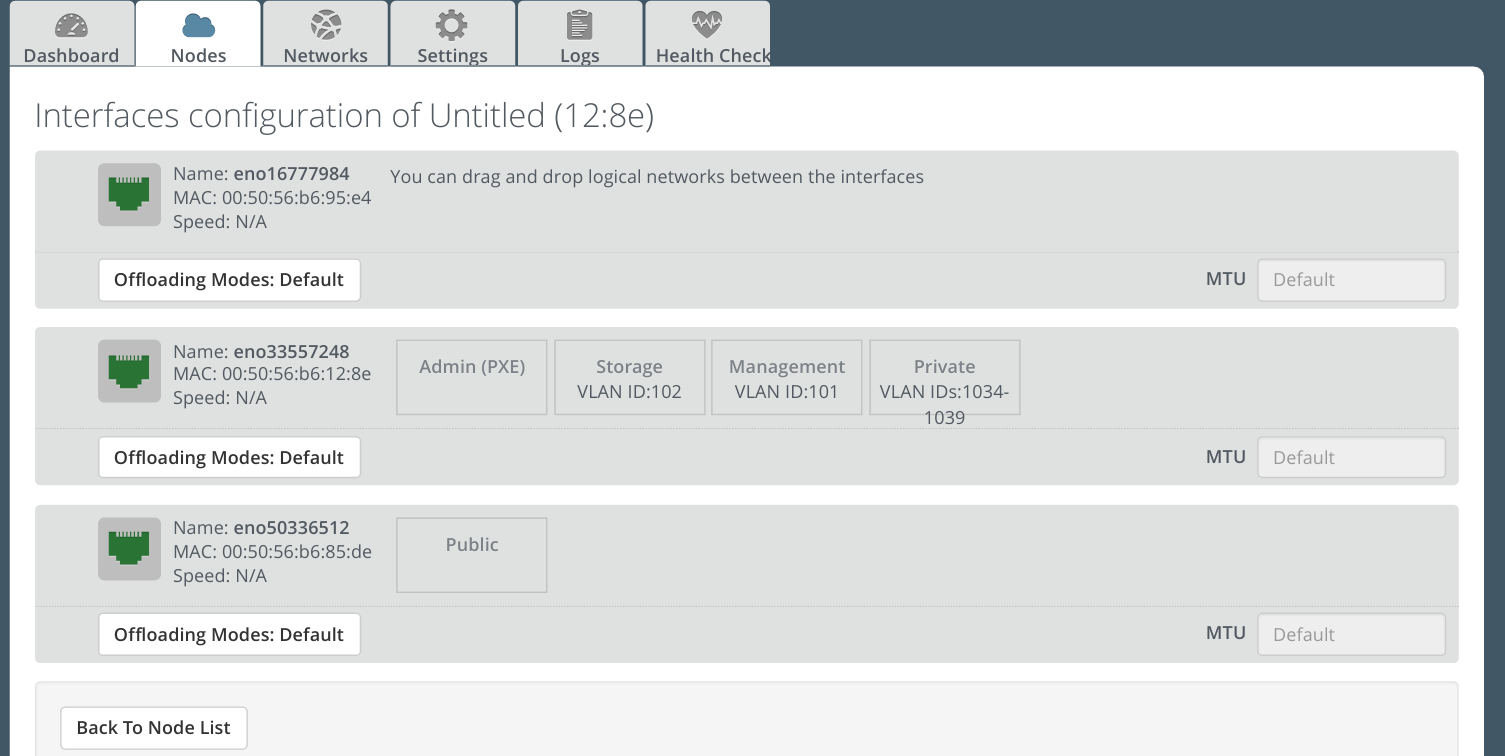
Switch to the Nodes tab and assign different networks to the interfaces.
Select the Networks tab, scroll to the bottom, and Verify Networks.
Then finally, Deploy Changes.
Plugin Install Verification
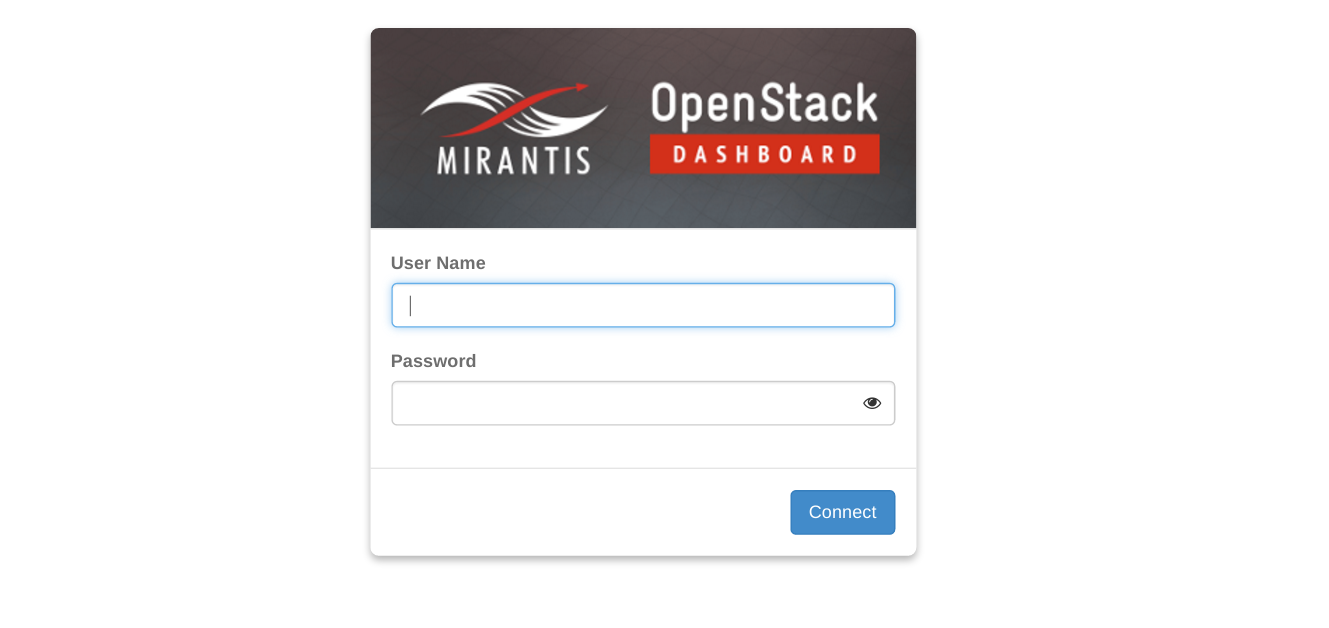
Once the deployment is finished, the Dashboard tab will display the "Success" notification, stating that the plugin is deployed and a link with name HTTP will be displayed.

Click on HTTP and it will lead you to OpenStack dashboard.
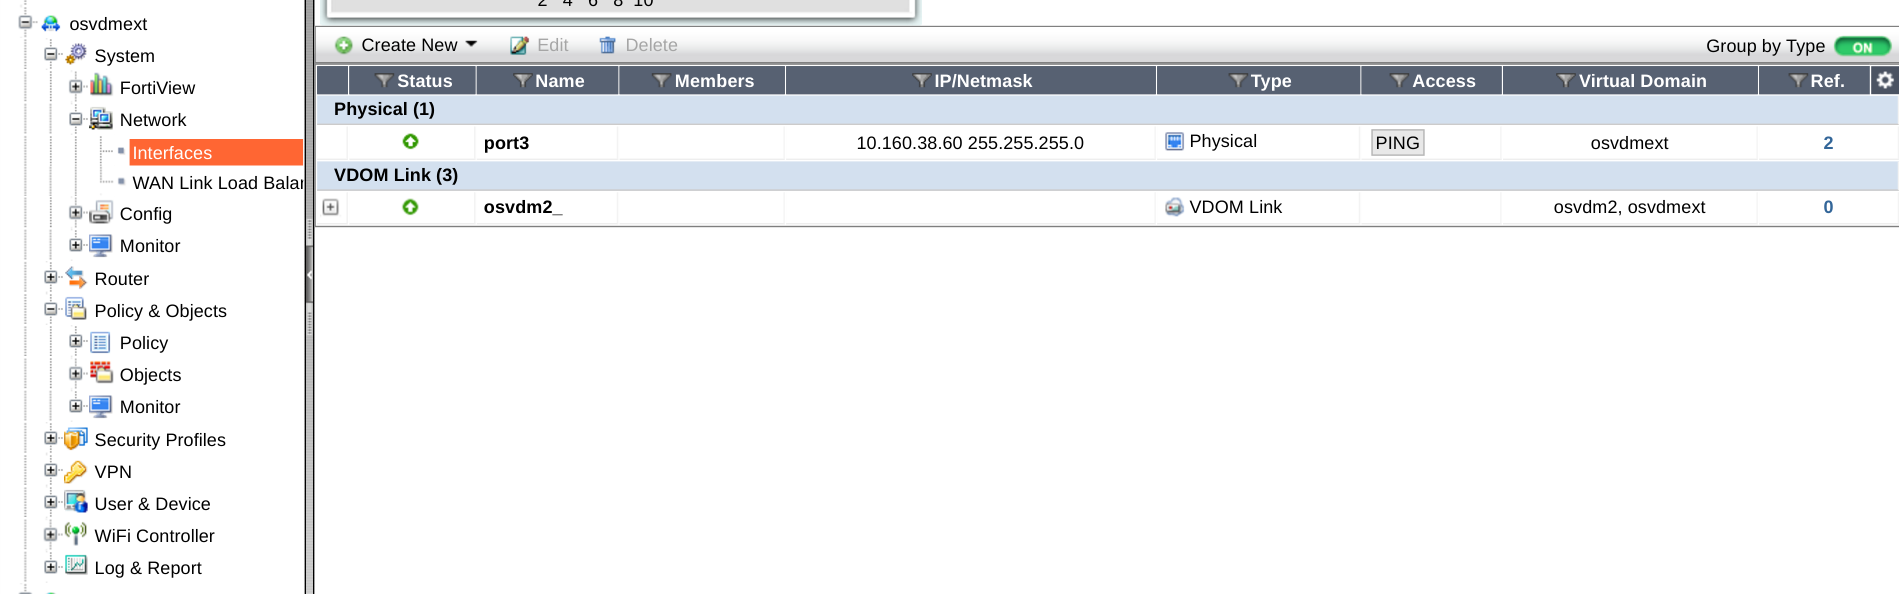
When Neutron service starts, it will use the FortiGate Connector to initialize the FortiGate and create a VDOM called osvdmext. You can log onto FortiGate to check whether the VDOM has been created.
Using FortiGate Connector
For instructions on using the FortiGate Connector, please refer to the official admin guide on Fortinet support site. The operations are transparent to the OpenStack users and the FortiGate connector will configure the FortiGate via RestFul API when networks, subnets, routers and firewalls are created on OpenStack.