5.4 KiB
Installation Guide
Prerequisites
This document assumes that you have installed Fuel and setup the target hosts with appropriate networking for the pxe, management, public and plumgrid-fabric networks. The nodes must be discovered and functional prior to performing the following steps.
Obtain a PLUMgrid ONS license and access to packages or LCM image by emailing PLUMgrid Support at info@plumgrid.com.
Installing Fuel PLUMgrid Plugin
Download the PLUMgrid plugin from the Fuel Plugins Catalog.
Copy this file to the Fuel Master node with secure copy (scp): :
scp plumgrid-<x.x.x>.rpm root@<Fuel_Master_node_IP address>:/tmpOn the Fuel Master node, install the PLUMgrid plugin with: :
cd /tmp
fuel plugins --install plumgrid-<x.x.x>.rpm
You should get the following output: :
Plugin <plugin-name-version>.rpm was successfully installedCheck that the correct version of the PLUMgrid plugin is installed in Fuel with: :
fuel plugins --listThe plugin is now ready for use and can be enabled in the Settings → Other PLUMgrid Plugin section of an OpenStack environment on the Fuel UI as explained next. This part is visible after a new environment is created.
Configuring a New Environment
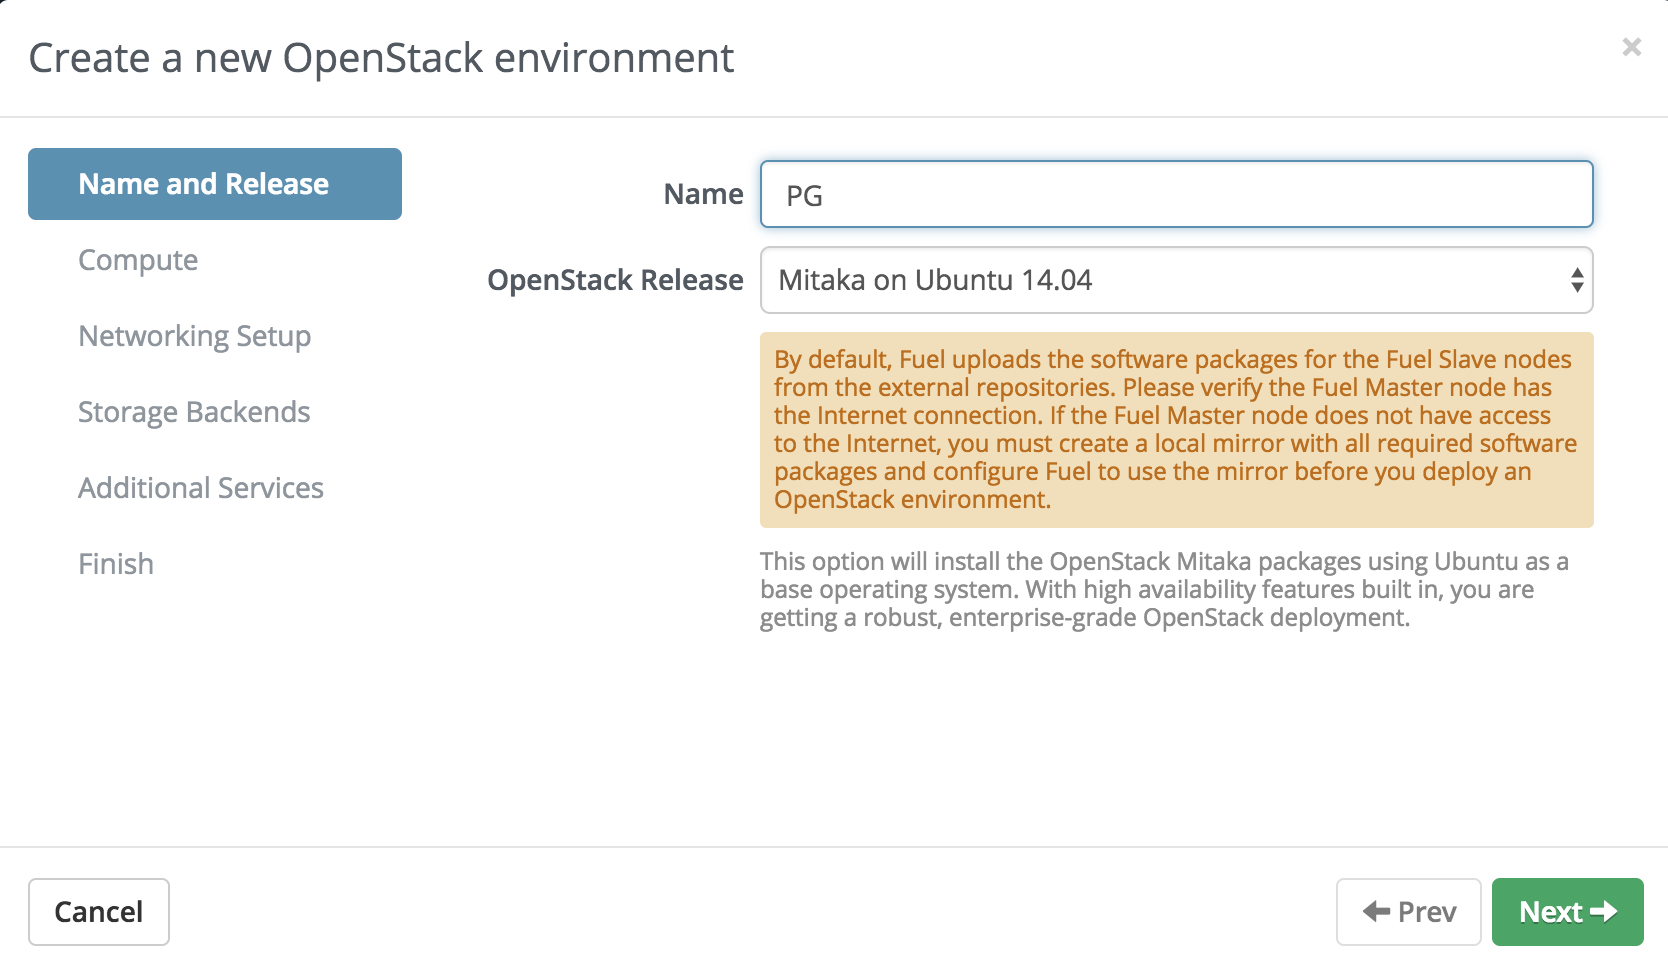
In Fuel UI create a new environment.
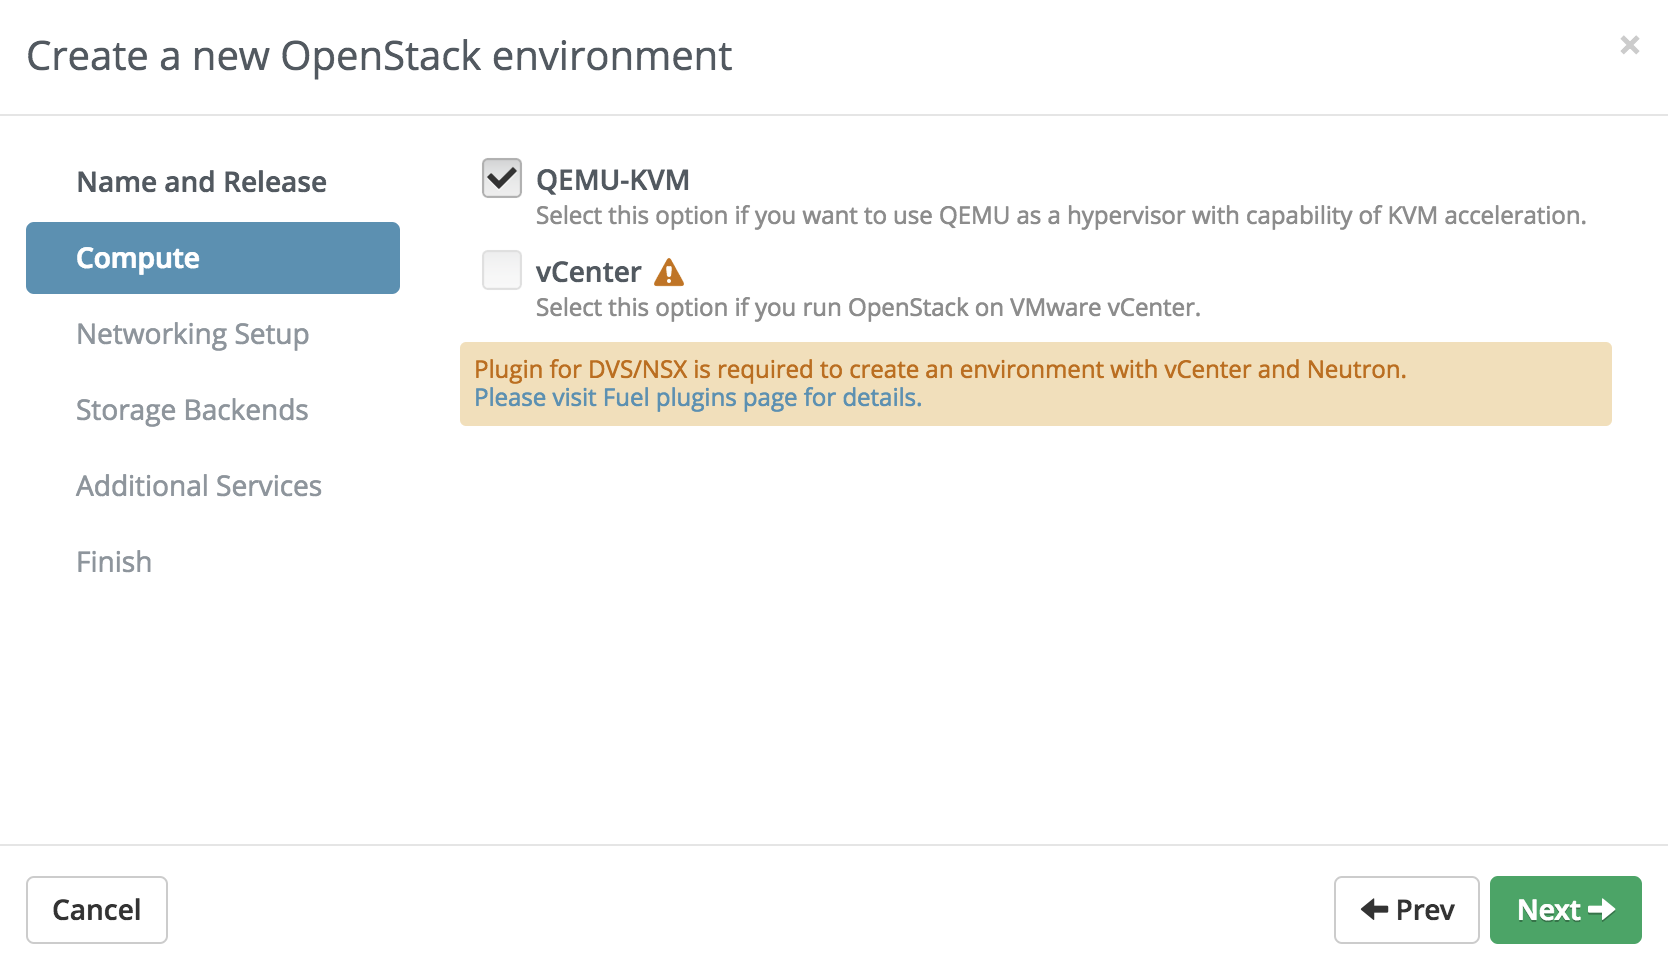
Select the QEMU-KVM hypervisor type for your environment.
Select Neutron with VLAN segmentation as Networking Setup.

Configuring PLUMgrid Plugin
After creating the environment, navigate to Settings → Other. Check the PLUMgrid Plugin box and fill in the appropriate values for the environment.
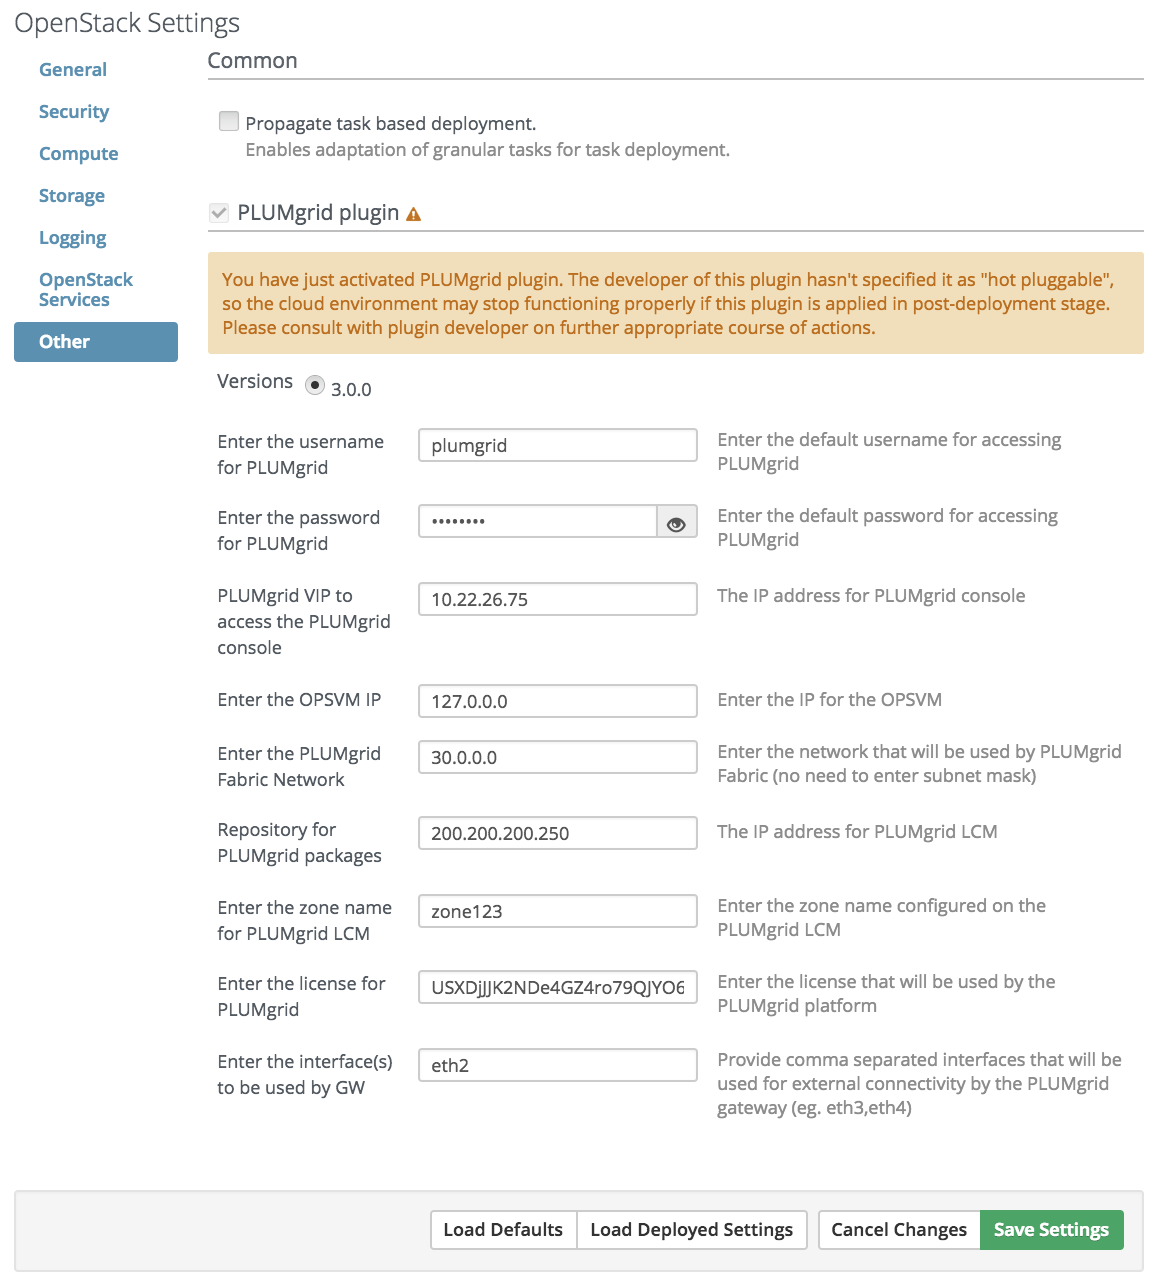
- Enter the username for PLUMgrid: default is plumgrid
- Enter the password for PLUMgrid: default is plumgrid
- PLUMgrid VIP on the management network to access the PLUMgrid console: The IP address for PLUMgrid console. Make sure to select an unassigned IP on the management network.
- Enter the OPSVM IP: Enter the IP for the OPSVM.
- Enter the PLUMgrid Fabric Network: Enter the network that will be used by PLUMgrid Fabric (without subnet mask).
- Repository for PLUMgrid packages: Enter IP address of a repo hosting PLUMgrid packages, for example the LCM.
- Enter the zone name for PLUMgrid LCM: If using an LCM enter the zone name specified during its configuration.
- Enter the license for PLUMgrid: Enter the PLUMgrid license string provided by PLUMgrid Support.
- Enter the interface(s) to be used by GW: Enter the interfaces that will be used for external connectivity by the PLUMgrid Gateway. Comma separated for more than one.
Deployment Settings
Navigate to Settings → General tab, Repositories Section and click Add Extra Repo and provide the following PLUMgrid repositories: :
plumgrid           deb http://<LCM-IP>:81/plumgrid plumgrid <component>         1200
plumgrid-images    deb http://<LCM-IP>:81/plumgrid-images plumgrid <component>  1250
openstack-mitaka   deb http://<LCM-IP>:81/openstack/deb/mitaka openstack-mitaka <component> 1300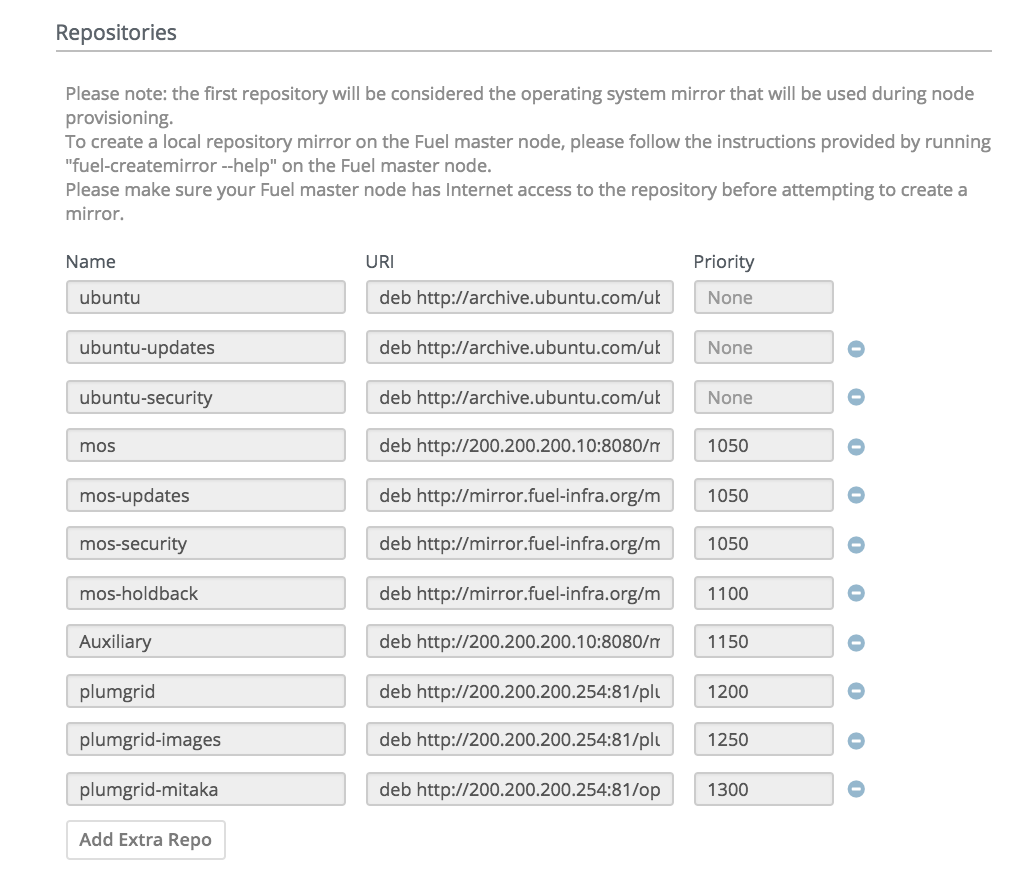
Navigate to the Nodes tab and click on Add Nodes:
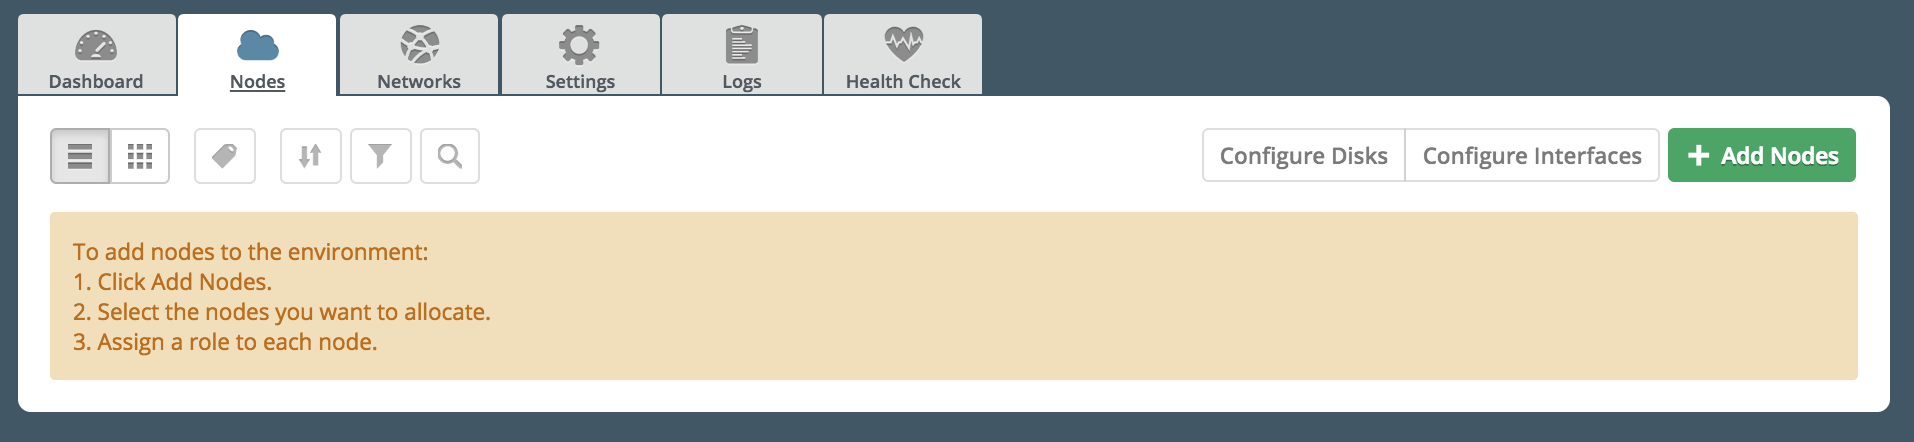
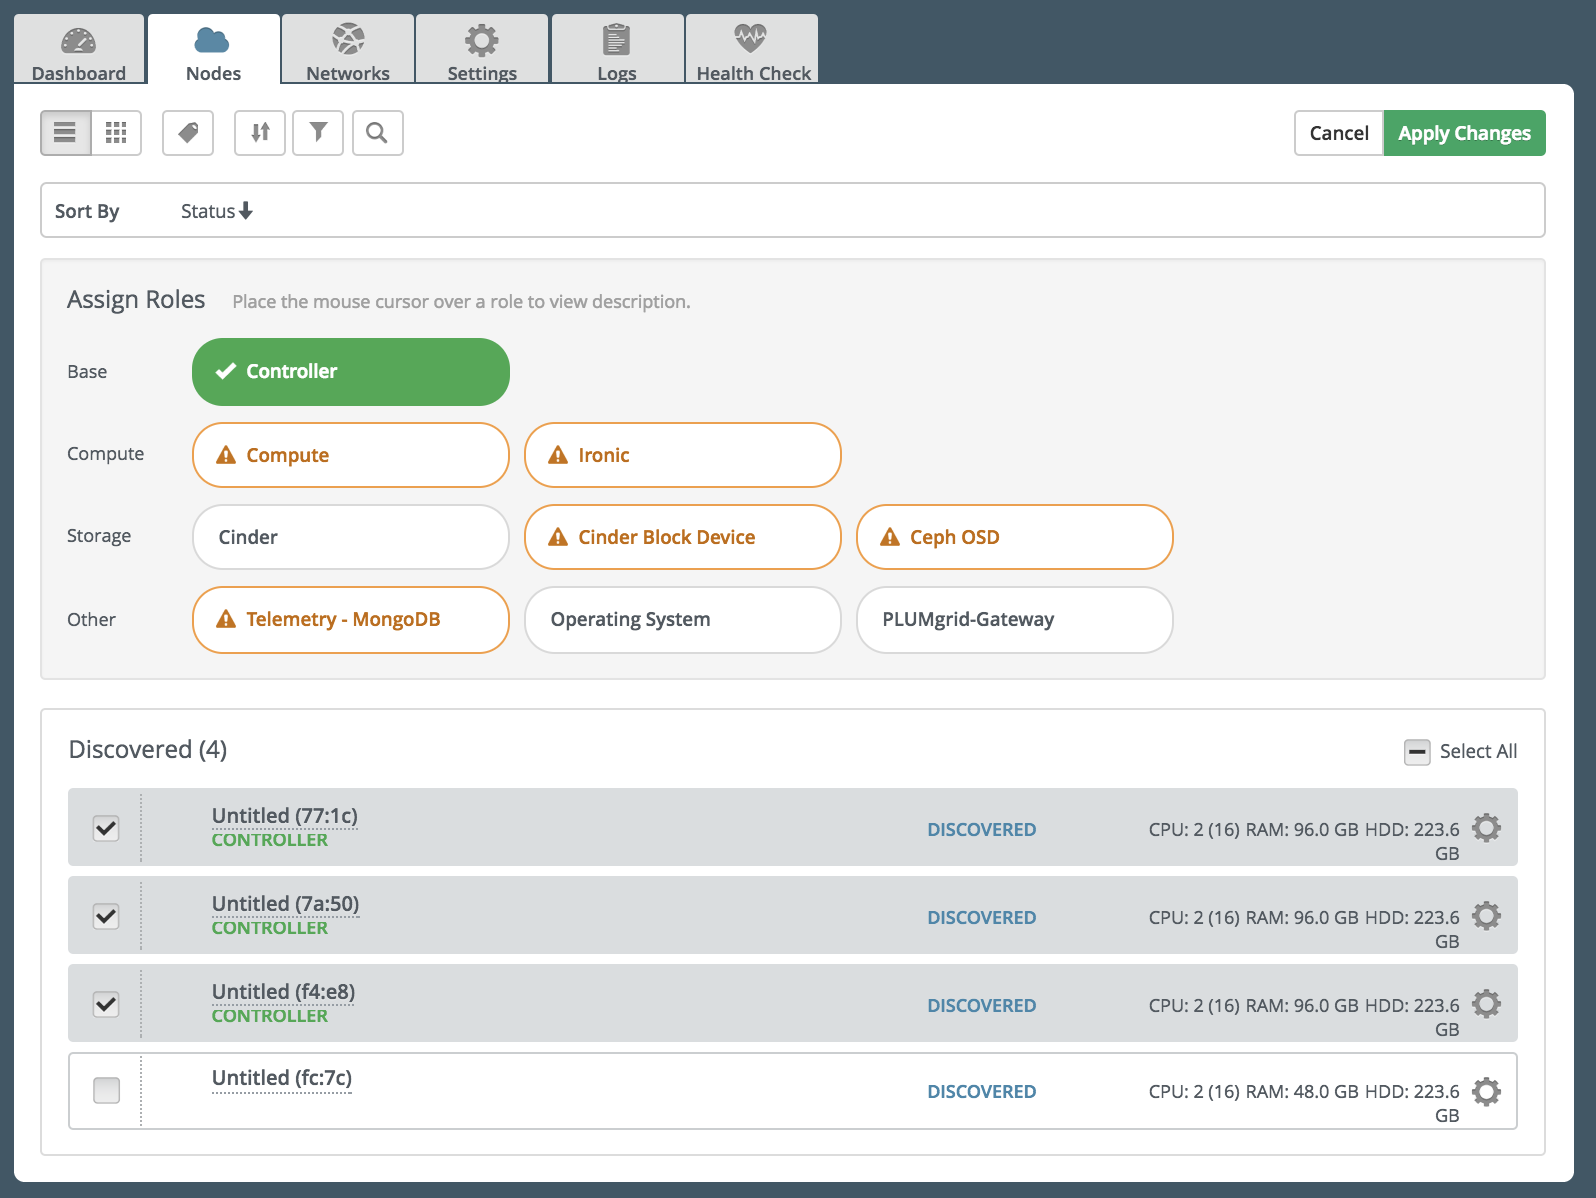
Assign the unallocated nodes their respective roles. Select the role i.e. Controller/Compute/PLUMgrid-Gateway and select the node which will assume that role. This process must be repeated for every node individually:
As described in the Requirements section, configure interfaces on nodes as shown in figure below by clicking on the gear icon:

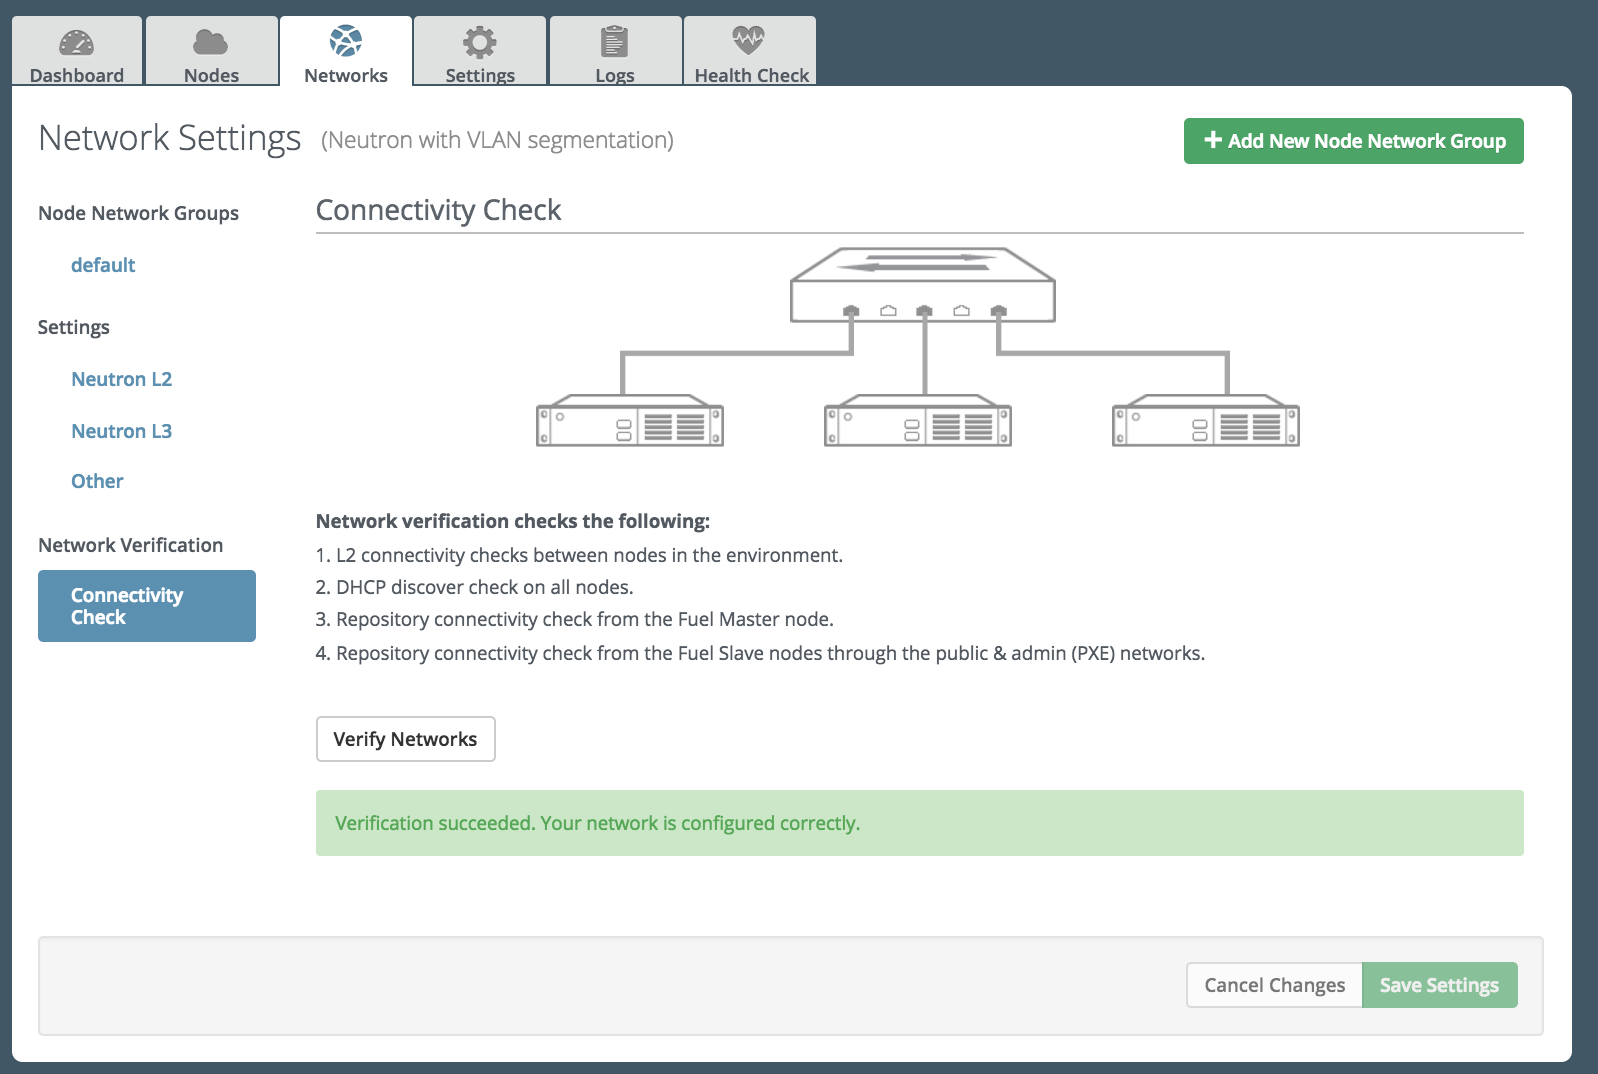
Navigate to Networks tab and set the appropriate Network Settings for the Public, Storage and Management Networks. Click Verify Networks to verify correct configuration.
Press Deploy changes in the Dashboard tab to deploy the environment.
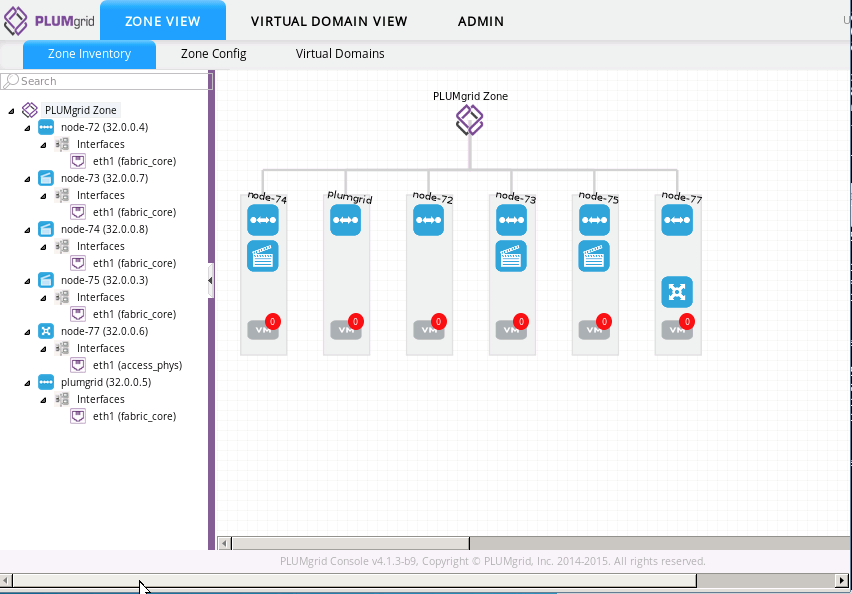
After a successful deployment, the PLUMgrid UI will be accessible on the VIP entered in the PLUMgrid Settings. :: https://<PG-VIP>
As PLUMgrid provides the network backend; all standard neutron operations (create/delete networks, routers etc) can be performed to check the status of the plugin. SSH into any Controller node and run the following: :
source /root/openrc
neutron net-create net1
neutron router-create router1
The newly created network and router should be visible in Horizon and the PLUMgrid UI.
For further details on usability & features, and to obtain official documentation, contact PLUMgrid at info@plumgrid.com.