After commit I49999d702f403d946084c5c4312d367404127b47
some names in dashboard were changed.
This patch replaces these names and related images in the docs.

Closes-Bug: #1583579

Depends-On: I8dea2cdf682ddd615a8dcc37154fc3d90df5c12b
Depends-On: I709308cf34dd8982e73422c26aad487a6068e24c

Change-Id: I3f0719e34c94594555cd5924f5ffd87692053b0a
4.0 KiB
Quickstart
This is a brief walkthrough to quickly get you familiar with the basic operations you can perform when using the Application catalog directly from the dashboard.
For the detailed instructions on how to manage your environments
<manage-environments> and applications <manage_applications>, please
proceed with dedicated sections.
Upload an application
To upload an application to the catalog:
Log in to the OpenStack dashboard.
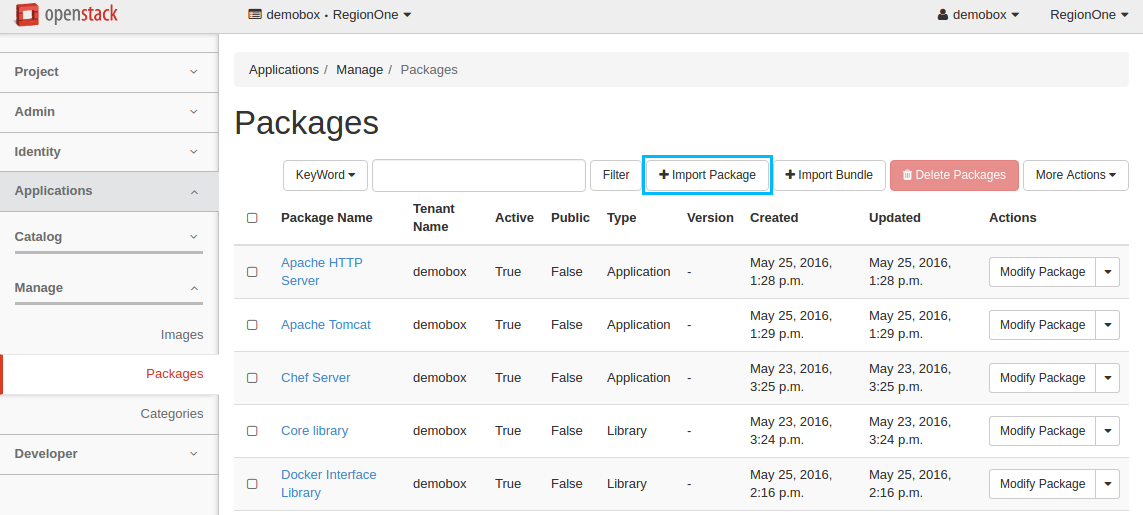
Navigate to
Applications > Manage > Packages.Click on the
Import Packagebutton:In the
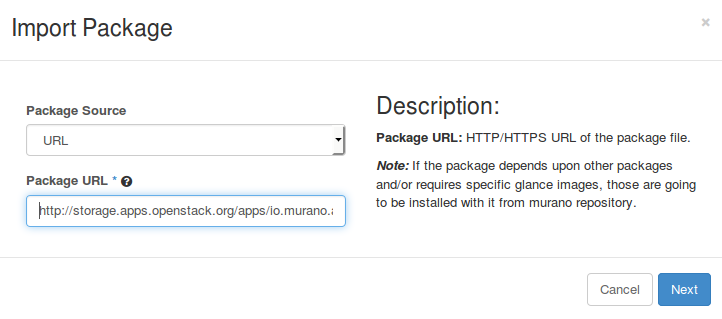
Import Packagedialog:- Select
URLfrom thePackage Sourcedrop-down list; - Specify the URL in the
Package URLfield. Lets upload the Apache HTTP Server package using http://storage.apps.openstack.org/apps/io.murano.apps.apache.ApacheHttpServer.zip; - Click
Nextto continue:
- Select
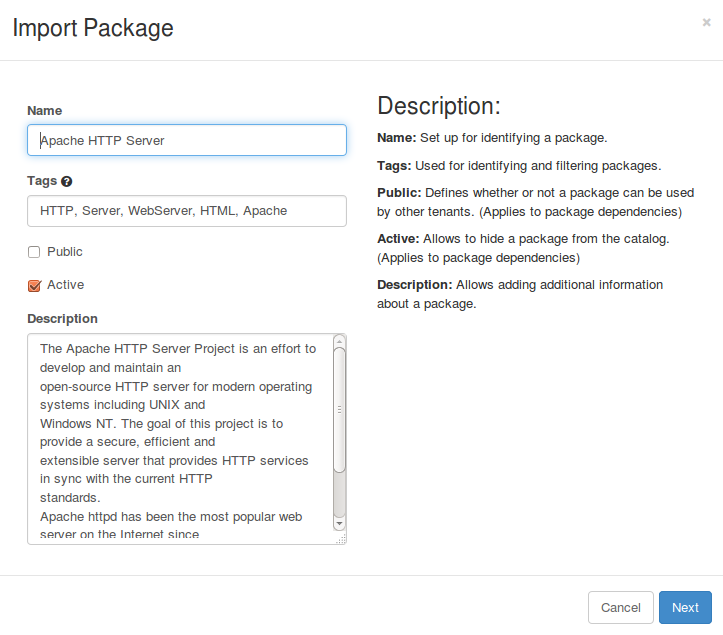
View the package details in the new dialog, click
Nextto continue:Select the
Application Serversfrom the application category list, clickCreateto import the application package:Now your application is available from
Applications >
Catalog > Browse
page.
Deploy an application
To add an application to an environment's component list and deploy the environment:
Log in to the OpenStack dashboard.
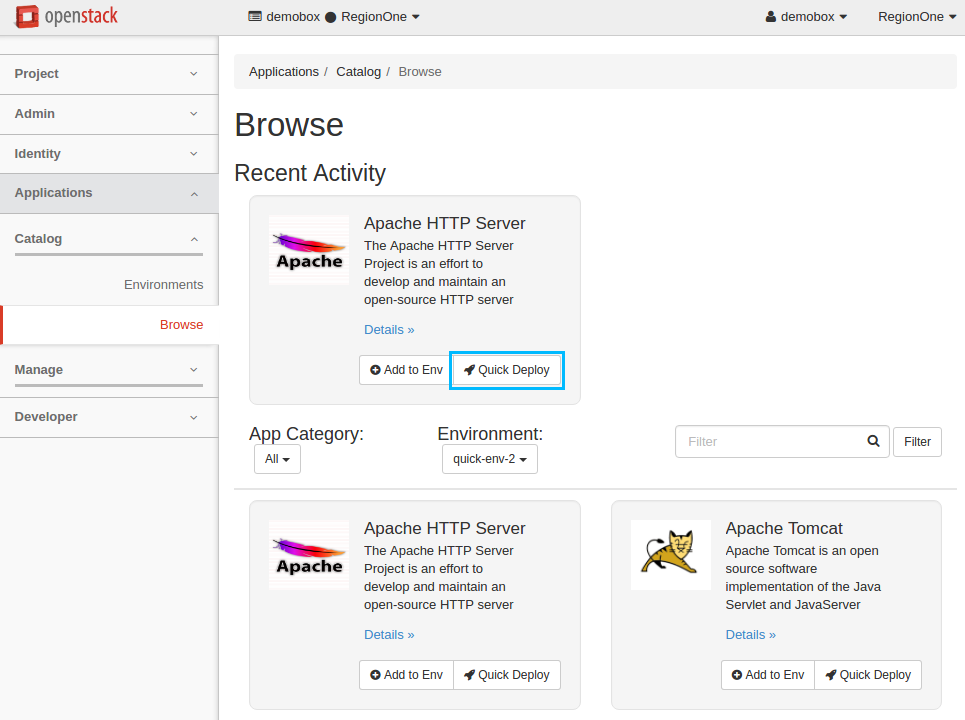
Navigate to
Applications > Catalog > Browse.Click on the
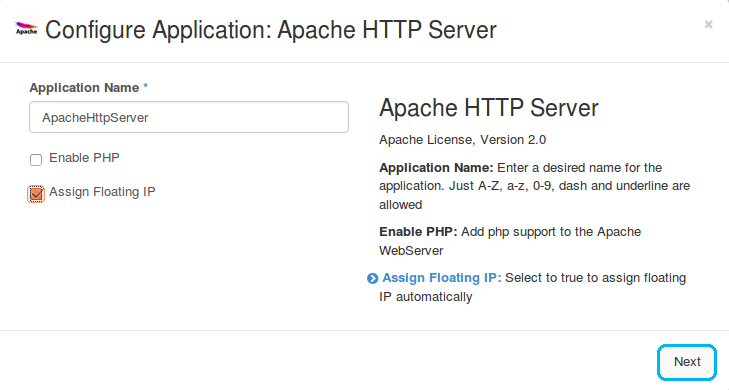
Quick Deploybutton from the required application from the list. Lets deploy Apache HTTP Server, for example:Check
Assign Floating IPand clickNextto proceed:Select the
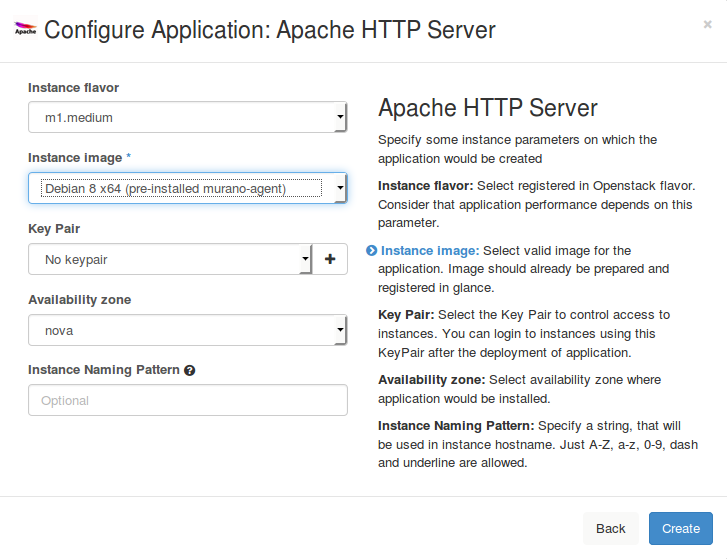
Instance Imagefrom the drop-down list and clickCreate:Now the Apache HTTP Server application is successfully added to the newly created
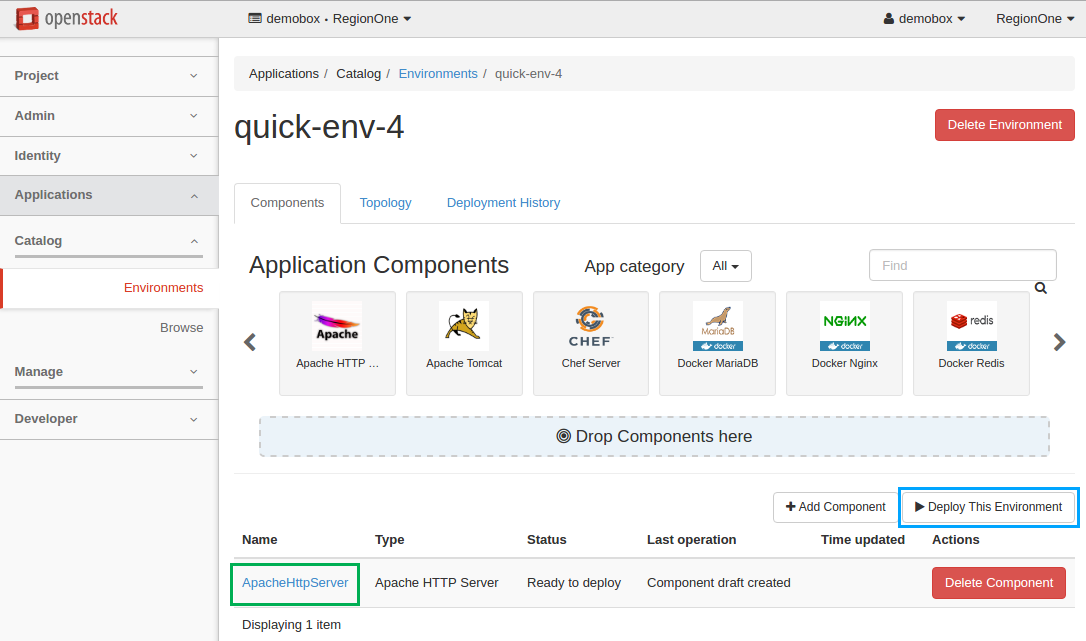
quick-env-4environment. Click theDeploy This Environmentbutton to start the deployment:It may take some time for the environment to deploy. Wait until the status is changed from
DeployingtoReady.Navigate to Applications > Catalog > Environments to view the details.
Delete an application
To delete an application that belongs to the environment:
- Log in to the OpenStack dashboard.
- Navigate to
Applications > Catalog > Environments. - Click on the name of the environment to view its details, which include components, topology, and deployment history.
- In the
Component Listsection, click on theDelete Componentbutton next to the application to be deleted. Confirm the deletion.
Note
If an application that you are deleting has already been deployed, you should redeploy it to apply the recent changes. If the environment has not been deployed with this component, the changes are applied immediately on receiving the confirmation.
Warning
Due to a known bug in Murano Kilo, resources allocated by a deleted application might not be reclaimed until the deletion of an environment. See LP1417136 for the details.
