3.1 KiB
Network Configuration
To work with Murano, tenant network in Openstack installation should be configured in a certain way. This configuration may be set up automatically with the provision of several parameters in config file or manually.
Murano has advanced networking features that give you ability to not care about configuring networks for your application. By default it will create an isolated network for each environment and join all VMs needed by your application to that network. To install and configure application in just spawned virtual machine Murano also requires a router connected to the external network.
Automatic network configuration
To create router automatically, provide the following parameters in config file:
[networking]

external_network = %EXTERNAL_NETWORK_NAME%
router_name = %MURANO_ROUTER_NAME%
create_router = true
To figure out the name of the external network, perform the following command:
$ neutron net-external-listDuring the first deploy, required networks and router with specified name will be created and set up.
Manual network configuration
- Step 1. Create public network
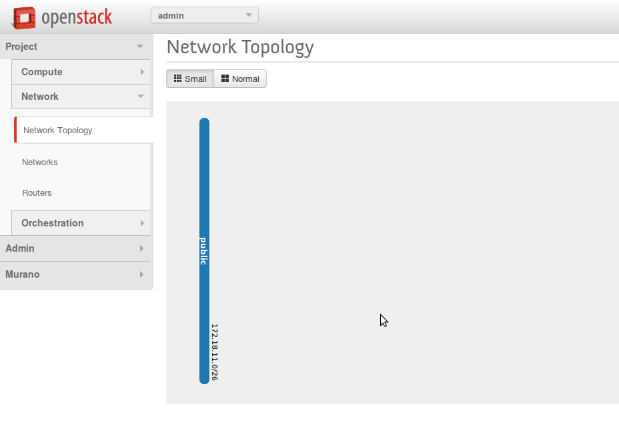
- First, you need to check for existence of external networks. Login as admin and go to Project -> Network -> Network Topology. And check network type in network details at Admin -> Networks -> Network name page. The same action can be done via CLI by running neutron net-external-list. To create new external network examine OpenStack documentation.
- Step 2. Create local network
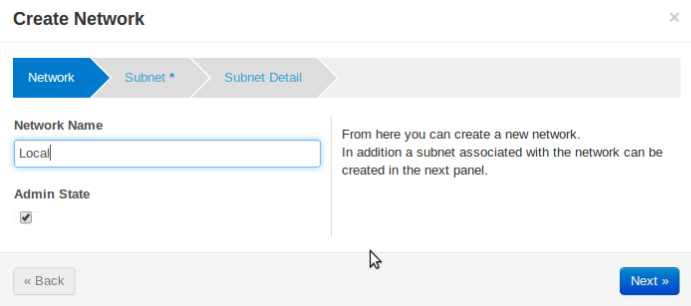
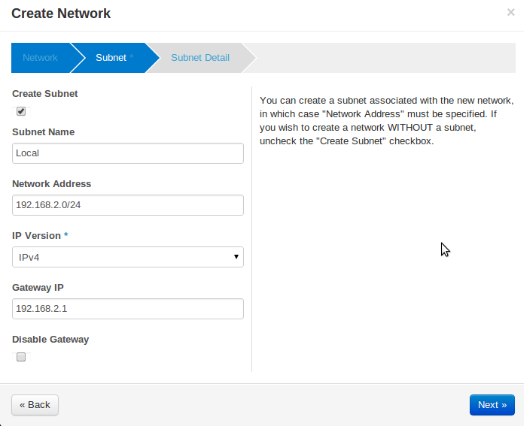
- Go to Project -> Network -> Networks.
- Click Create Network and fill the form.
- Step 3. Create router
- Go to Project -> Network -> Routers
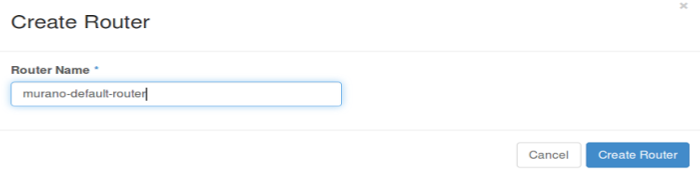
- Click "Create Router"
- In the "Router Name" field, enter the murano-default-router
If you specify a name other than murano-default-router, it will be necessary to change the following settings in the config file:
[networking]

router_name = %SPECIFIED_NAME%
create_router = false
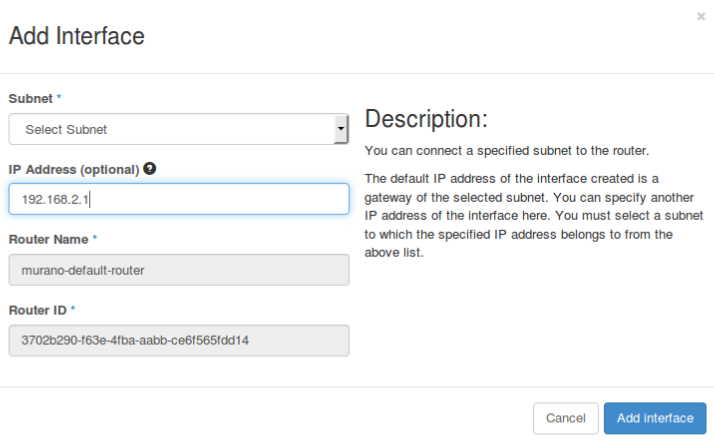
- Click on the specified router name
- In the opened view click “Add interface”
- Specify the subnet and IP address
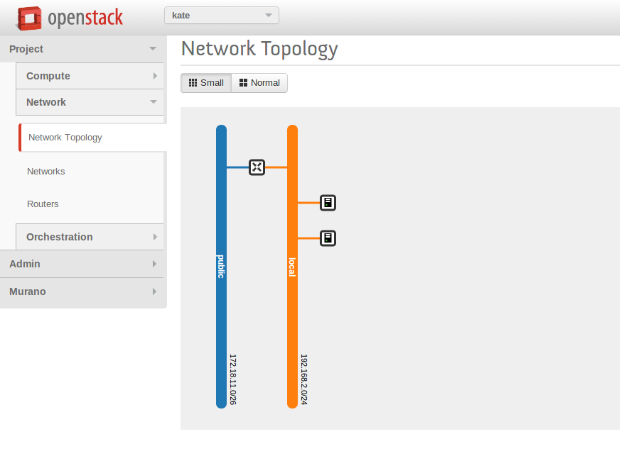
And check the result in Network Topology tab.