Move the existing test docs into a subdirectory and move the setup
details from the README to docs/source/index.rst.

Change-Id: Ic66247a1d5527cf1ba34f3b1561de6a027e12050
Signed-off-by: Doug Hellmann <doug@doughellmann.com>
6.3 KiB
OpenStack dashboard
As a cloud end user, you can use the OpenStack dashboard to provision your own resources within the limits set by administrators. You can modify the examples provided in this section to create other types and sizes of server instances.
Log in to the dashboard
The dashboard is available on the node with the
nova-dashboard server role.
Ask the cloud operator for the host name or public IP address from which you can access the dashboard, and for your user name and password.
Open a web browser that has JavaScript and cookies enabled.
Note
To use the Virtual Network Computing (VNC) client for the dashboard, your browser must support HTML5 Canvas and HTML5 WebSockets. The VNC client is based on noVNC. For details, see noVNC: HTML5 VNC Client. For a list of supported browsers, see Browser support.
In the address bar, enter the host name or IP address for the dashboard.
https://ipAddressOrHostName/Note
If a certificate warning appears when you try to access the URL for the first time, a self-signed certificate is in use, which is not considered trustworthy by default. Verify the certificate or add an exception in the browser to bypass the warning.
On the Log In page, enter your user name and password, and click Sign In.
The top of the window displays your user name. You can also access Settings or sign out of the dashboard.
The visible tabs and functions in the dashboard depend on the access permissions, or roles, of the user you are logged in as.
- If you are logged in as an end user, the
Projecttab is displayed. - If you are logged in as an administrator, the
Projecttab (dashboard-project-tab) andAdmintab (dashboard-admin-tab) are displayed.
- If you are logged in as an end user, the
OpenStack dashboard—Project tab
Projects are organizational units in the cloud, and are also known as tenants or accounts. Each user is a member of one or more projects. Within a project, a user creates and manages instances.
From the Project tab, you can view and manage the resources in a selected project, including instances and images. You select the project from the CURRENT PROJECT list at the top of the tab.
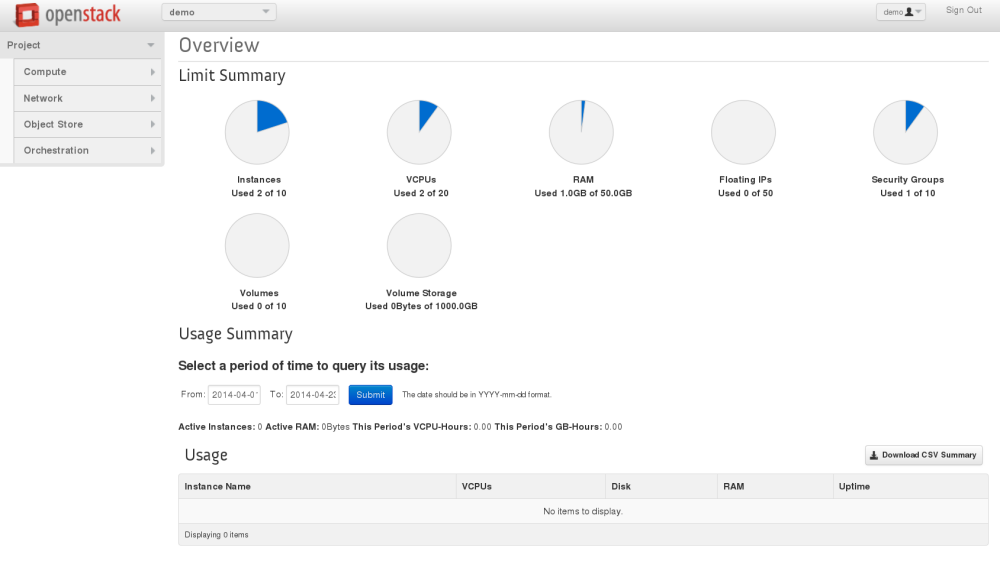
Figure: Project tab
Project tab
From the Project tab, you can access the following
tabs:
Compute tab
Overview: View
reports for the project.
Instances:
View, launch, create a snapshot from, stop, pause, or reboot instances,
or connect to them through VNC.
Volumes: Use
the following tabs to complete these tasks:
Volumes: View, create, edit, and delete volumes.Volume Snapshots: View, create, edit, and delete volume snapshots.Images: View images and instance snapshots created by project users, plus any images that are publicly available. Create, edit, and delete images, and launch instances from images and snapshots.
Access & Security: Use the following tabs to
complete these tasks:
Security Groups: View, create, edit, and delete security groups and security group rules.Key Pairs: View, create, edit, import, and delete key pairs.Floating IPs: Allocate an IP address to or release it from a project.API Access: View API endpoints.
Network tab
Network Topology: View the network topology.
Networks:
Create and manage public and private networks.
Routers: Create
and manage subnets.
Object Store tab
Containers:
Create and manage containers and objects.
Orchestration tab
Stacks: Use the REST API to orchestrate multiple composite cloud-
applications.
OpenStack dashboard—Admin tab
Administrative users can use the Admin tab to view usage and to manage instances,
volumes, flavors, images, projects, users, services, and quotas.
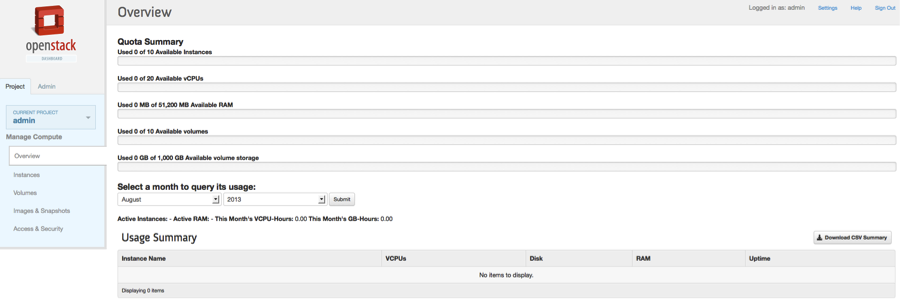
Figure: Admin tab
Admin tab
Access the following categories to complete these tasks:
System Panel tab
Overview: View
basic reports.
Resource Usage:
Use the following tabs to view the following usages:
Daily Report:
View the daily report.
Stats: View the
statistics of all resources.
Hypervisors:
View the hypervisor summary.
Host Aggregates: View, create, and edit host
aggregates. View the list of availability zones.
Instances:
View, pause, resume, suspend, migrate, soft or hard reboot, and delete
running instances that belong to users of some, but not all, projects.
Also, view the log for an instance or access an instance through
VNC.
Volumes: View,
create, edit, and delete volumes and volume types.
Flavors: View,
create, edit, view extra specifications for, and delete flavors. A
flavor is size of an instance.
Images: View,
create, edit properties for, and delete custom images.
Networks: View,
create, edit properties for, and delete networks.
Routers: View,
create, edit properties for, and delete routers.
System Info:
Use the following tabs to view the service information:
Services: View a list of the services.Compute Services: View a list of all Compute services.
Network Agents:
View the network agents.
Default Quotas:
View default quota values. Quotas are hard-coded in OpenStack Compute
and define the maximum allowable size and number of resources.
Identity Panel tab
Projects: View,
create, assign users to, remove users from, and delete projects.
Users: View,
create, enable, disable, and delete users.

