3.1 KiB
Installation Guide
Pure Storage Cinder Plugin installation
Download the plugin from the Fuel Plugins Catalog.
Copy the plugin to an already installed Fuel Master node. If you do not have the Fuel Master node yet, please follow the instructions:
# scp fuel-plugin-purestorage-cinder-3.0-3.0.0-1.noarch.rpm root@:<the_Fuel_Master_node_IP>:/tmp``
Log into the Fuel Master node.
Install the plugin
# cd /tmp # fuel plugins --install fuel-plugin-purestorage-cinder-3.0-3.0.0-1.noarch.rpm
Check if the plugin was installed successfully
# fuel plugins # id | name | version | package_version # ------------ fuel-plugin-purestorage-cinder | 3.0.0 | 4.0.0
After the plugin is installed, create a new OpenStack environment using the Fuel UI Wizard.
Open the Settings tab of the Fuel Web UI and scroll down the page. Select the Storage section to enable Pure Storage driver in Cinder plugin checkbox.
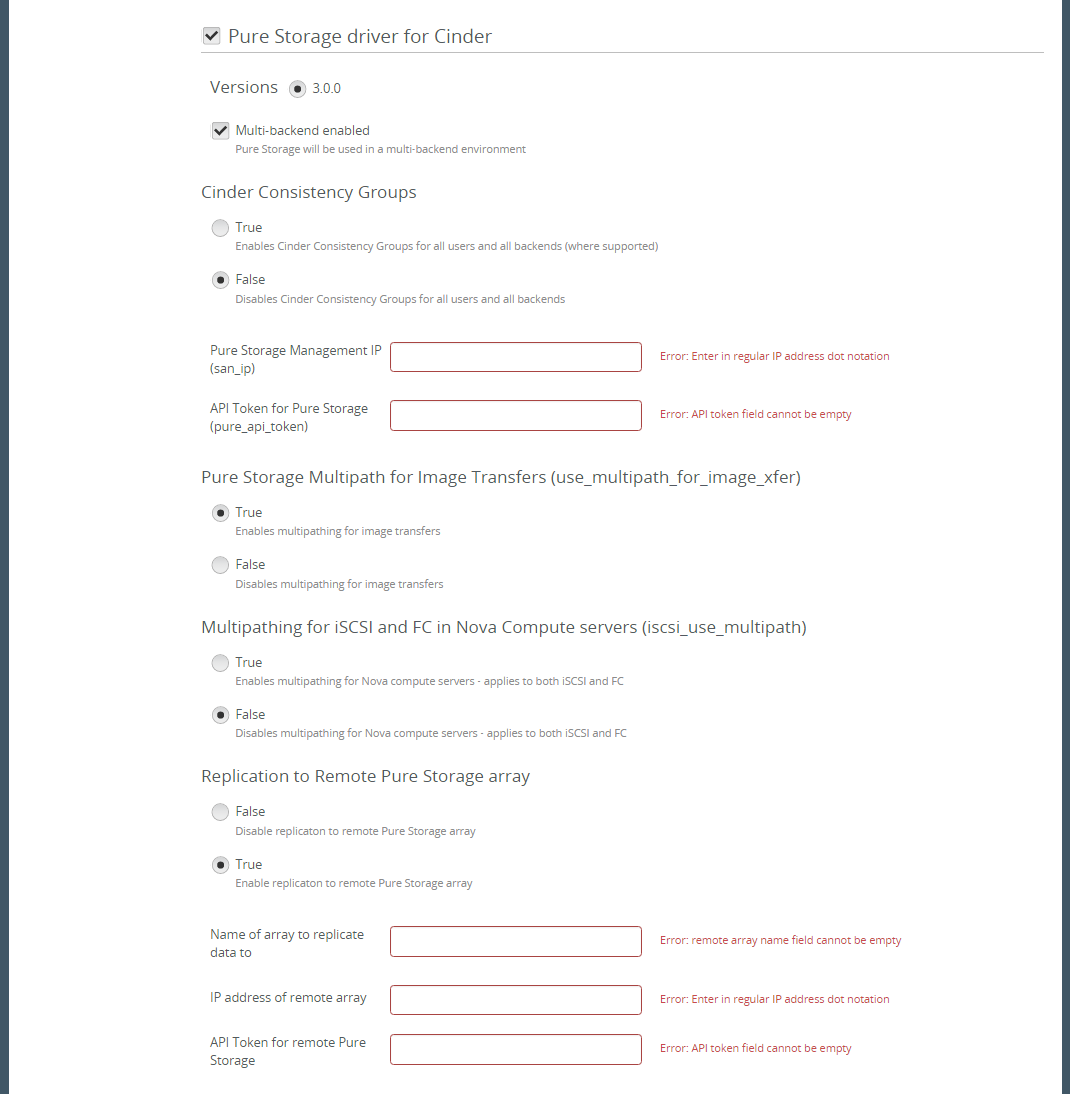
- Enter the Purity API Token and the IP address of the management VIP of the Pure Storage FlashArray.
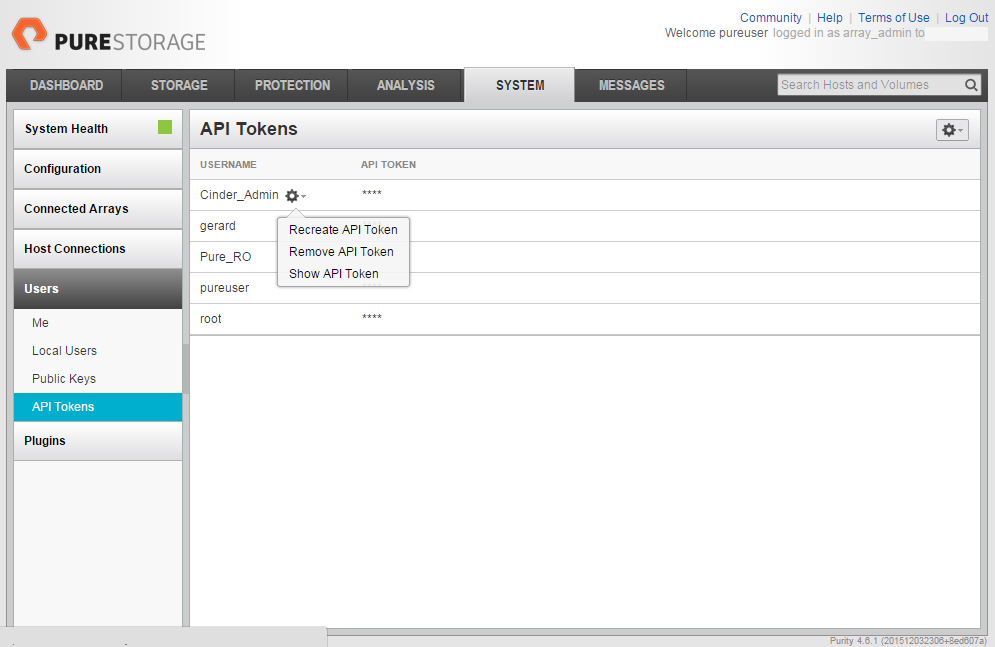
Obtain the Purity API token from the Pure Storage GUI
System->Users->API Tokens: Select User, click gear icon by user and select 'Show API Token'
or use the following Purity CLI command to obtain the API token:
# pureadmin list --api-token --expose <USER>
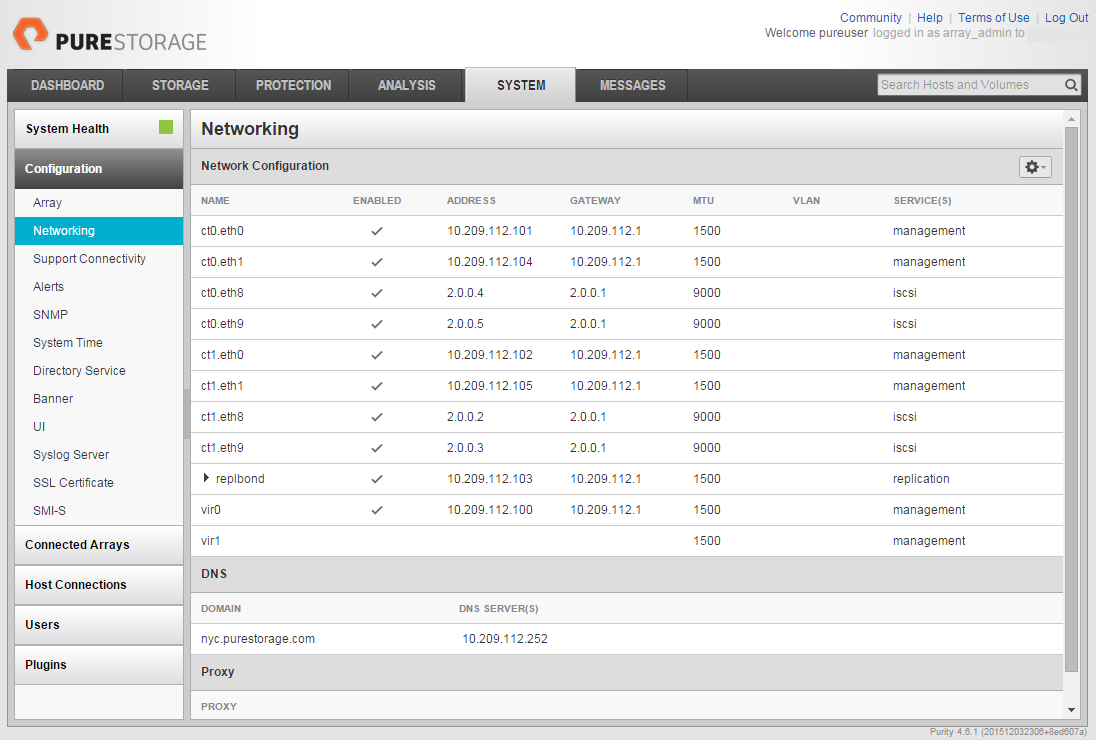
Obtain the Pure Storage VIP from the Pure Storage GUI
System->System->Configuration->Networking: Use the IP address associated with 'vir0'
or use the following Purity CLI command to obtain the VIP address:
# purenetwork list vir0
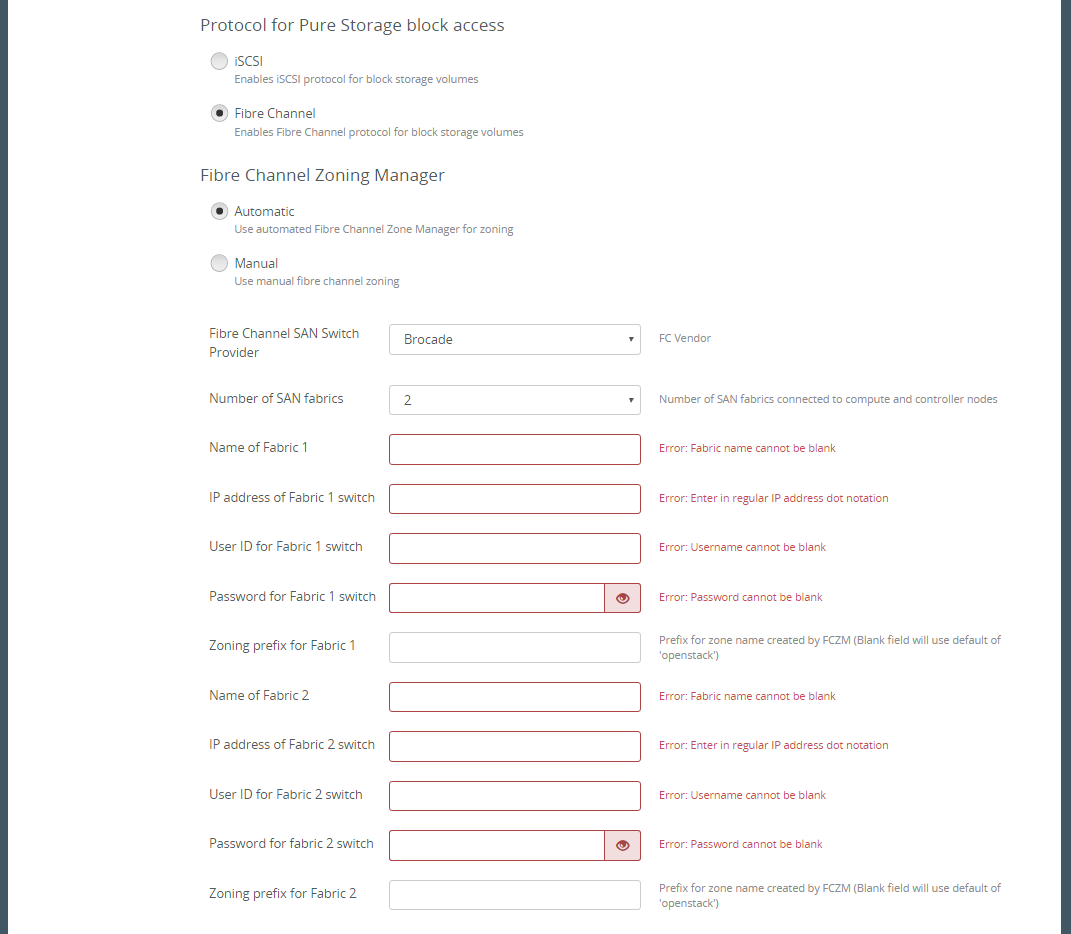
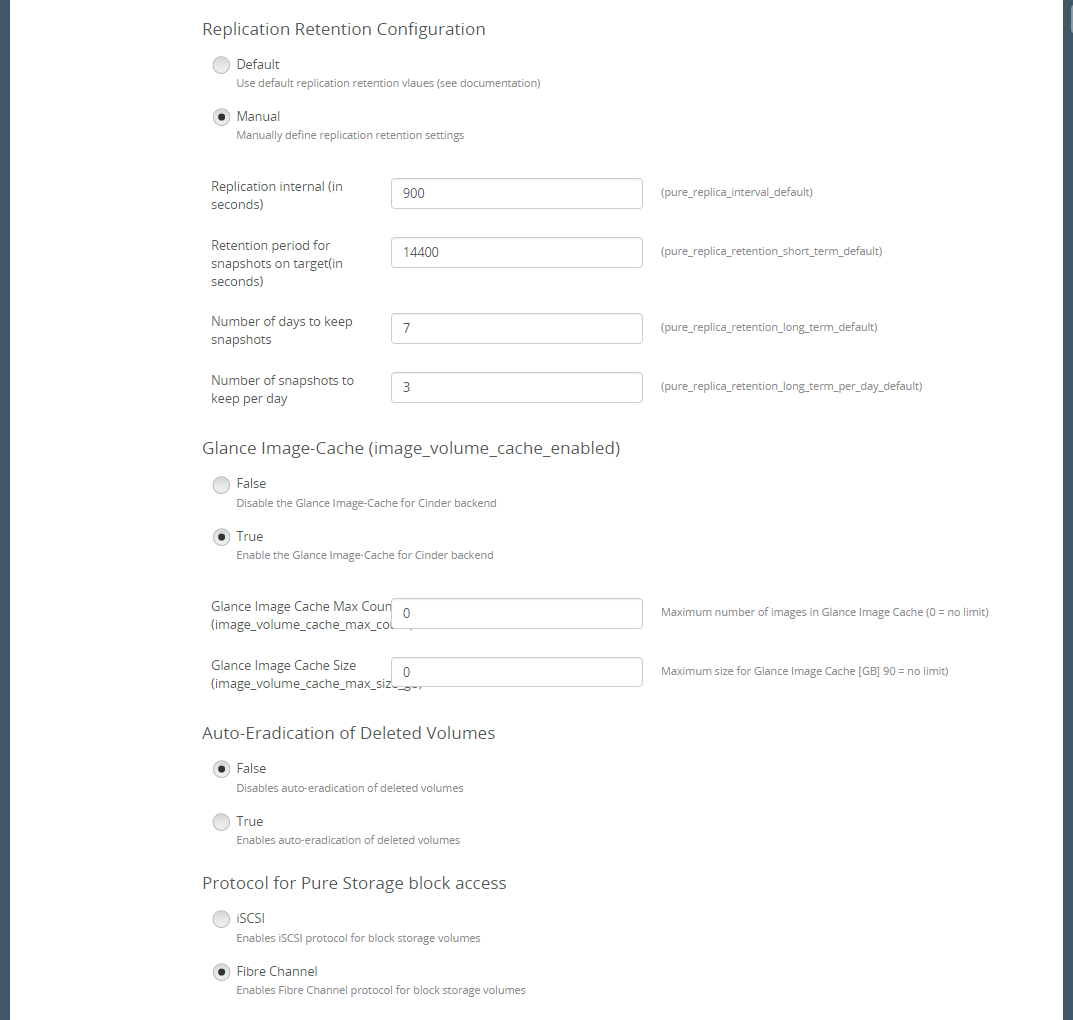
- Select the defaults for all other Pure Storage options. Each selectable option has a description in the Fuel GUI.
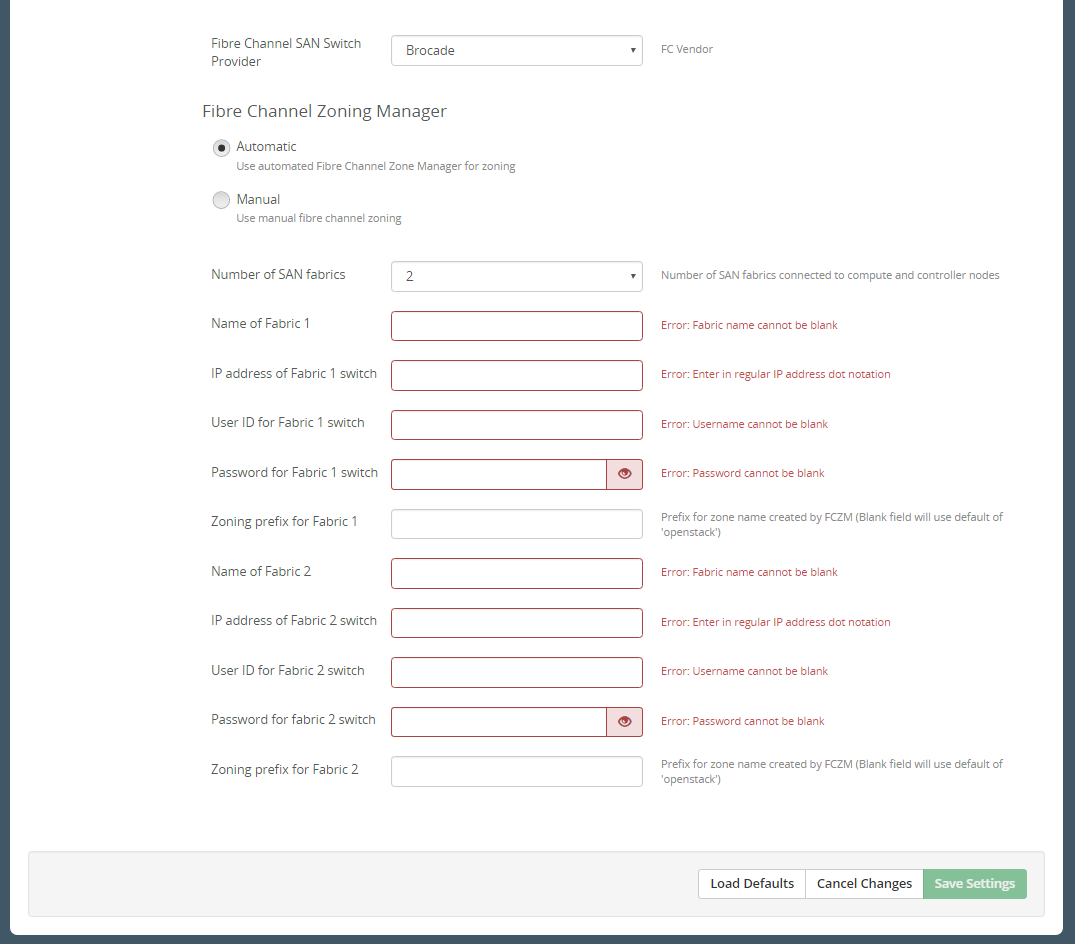
- If using Fibre Channel as the storage protocol you need to select the zoning method to be used in your deployment. If you are configuring your own zones then select 'Manual' but you can select 'Automatic' if you wish to use the Openstack Fibre Channel Zone Manager. If 'Automatic' is selected you will need to provide the necessary information for the Zone Manager to communicate and configure your fibre channel switches.